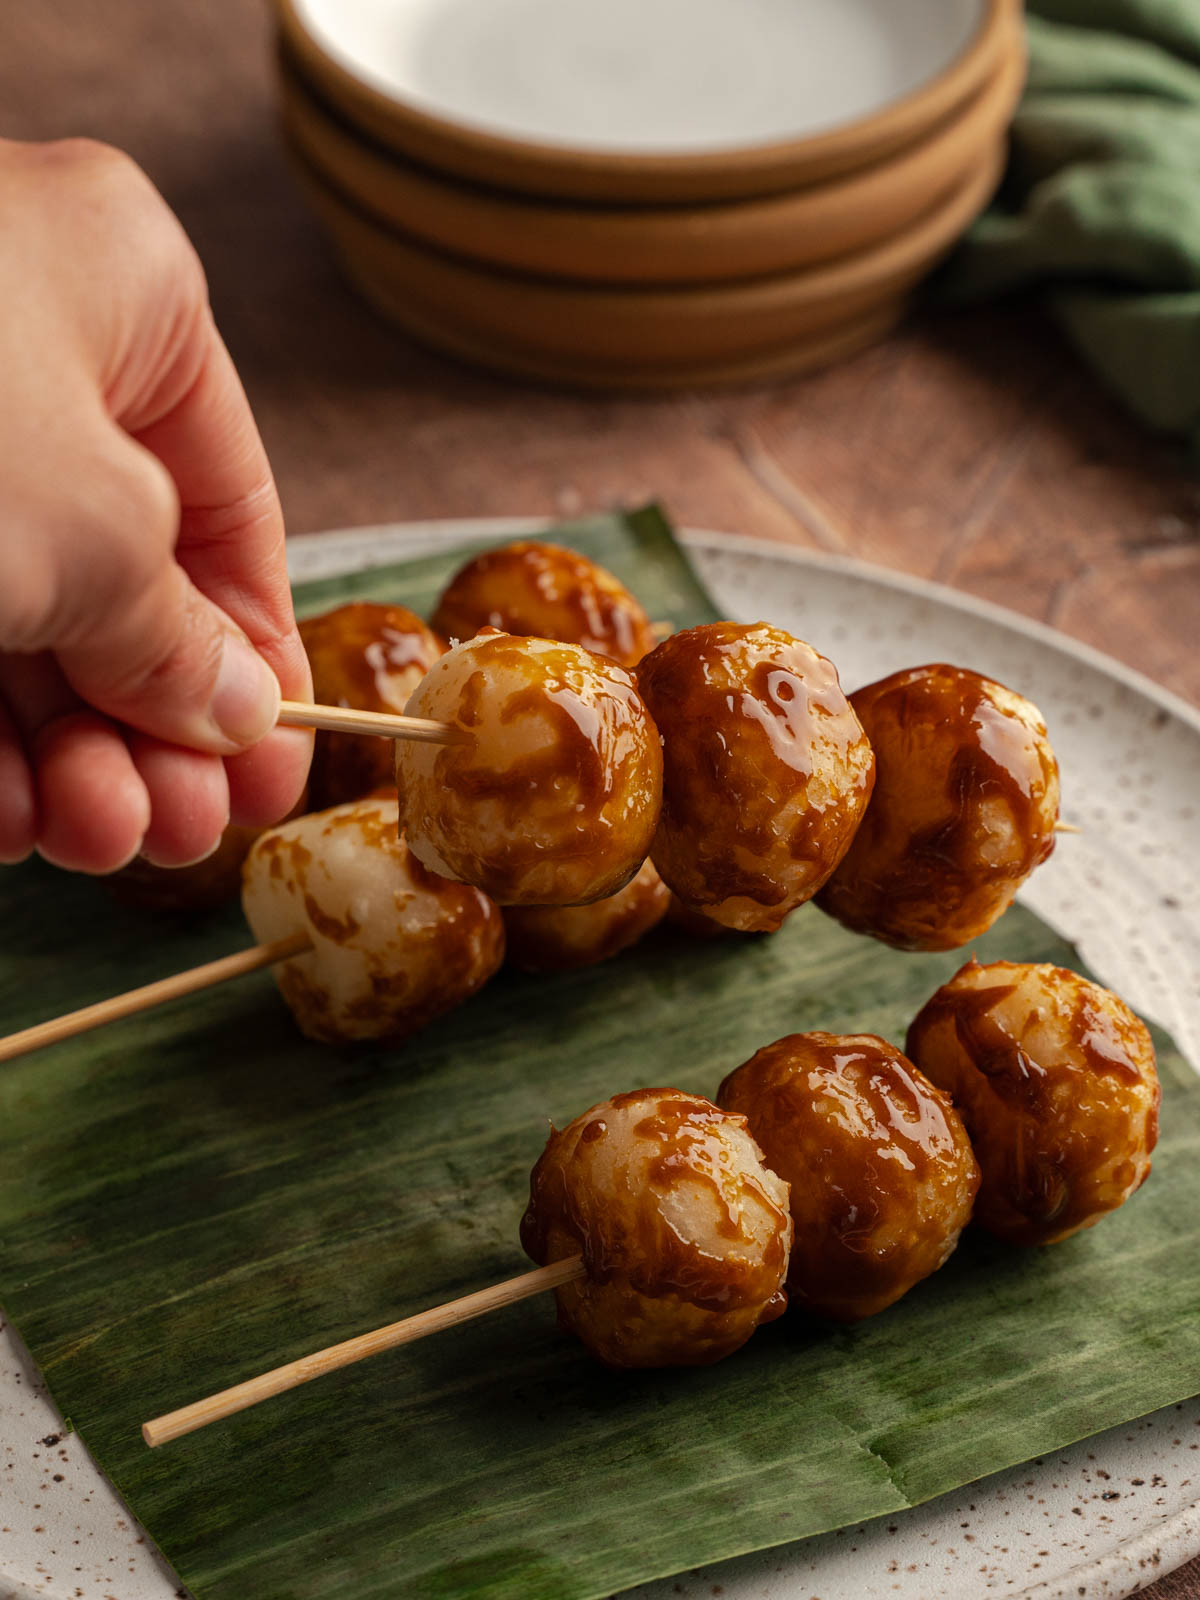
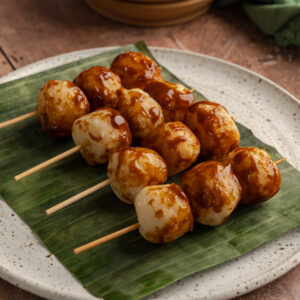
This Easy Filipino Karioka, also known as carioca, is a popular street food snack that is so delicious and easy to prepare! It’s a simple yet flavorful snack that is a nostalgic treat for many Filipinos.
What is karioka?
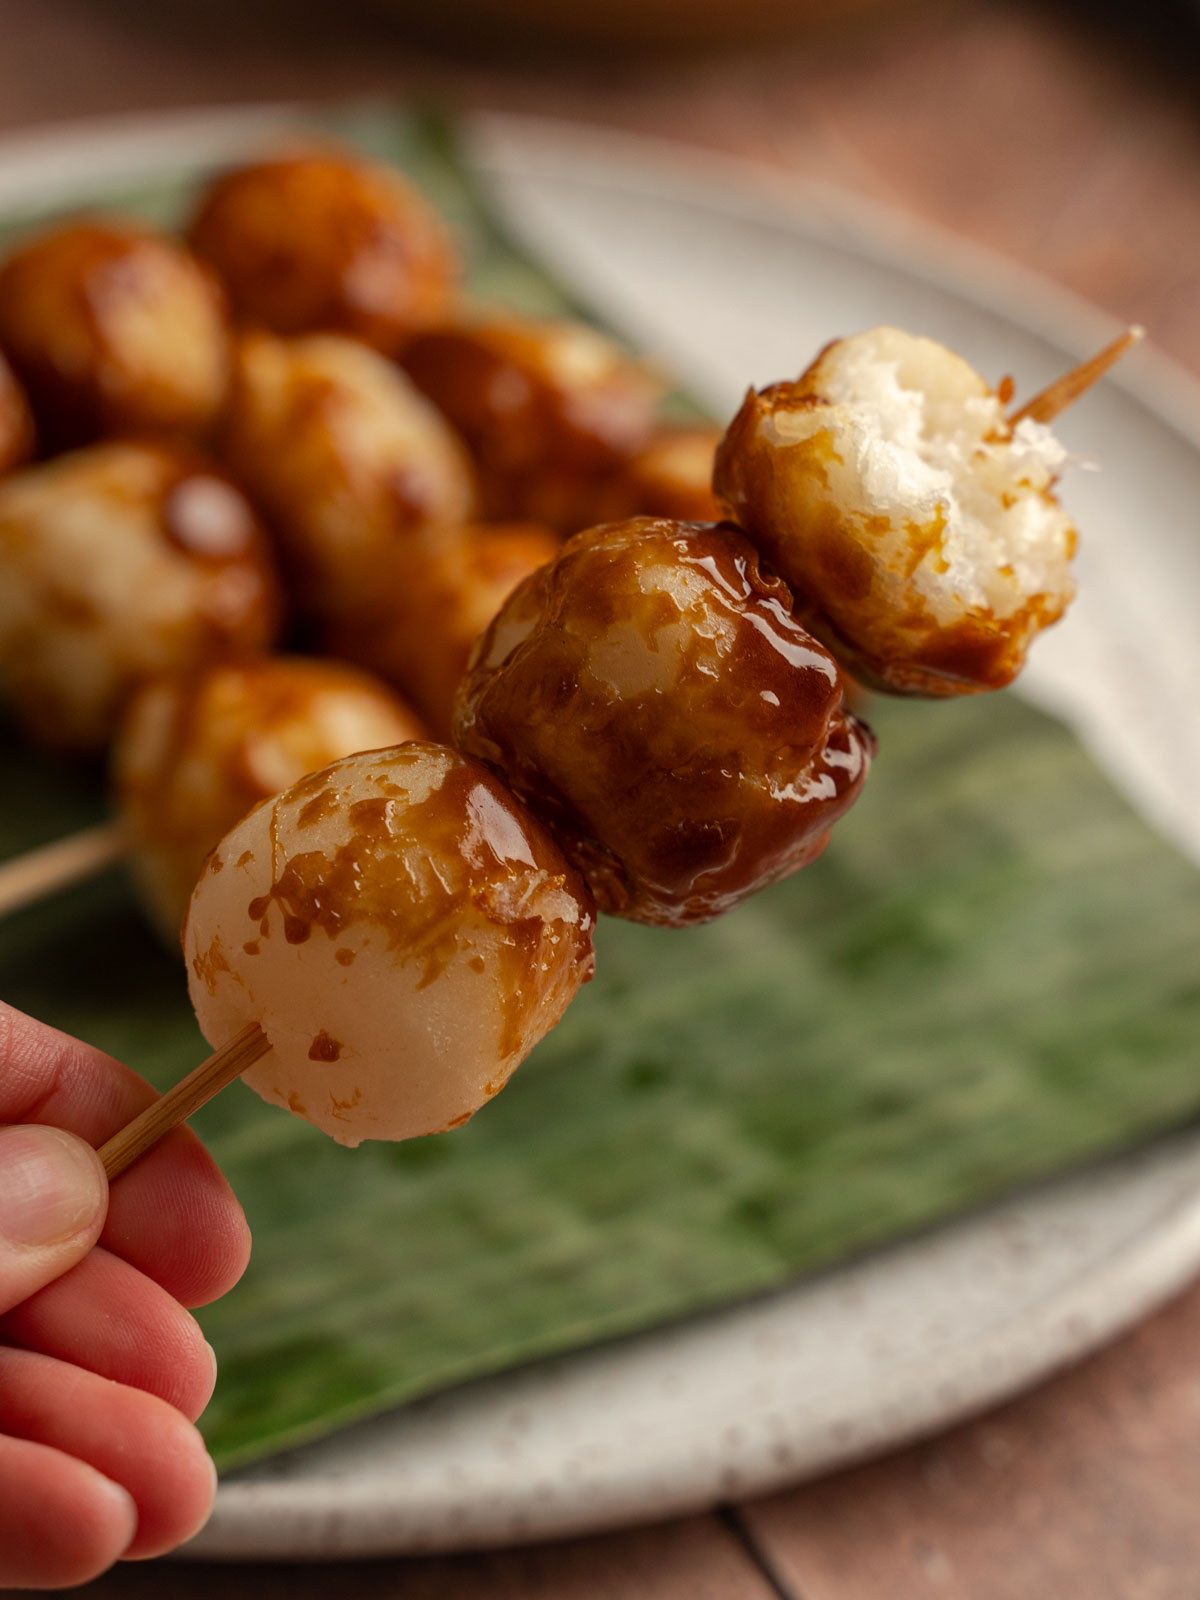
Filipino Karioka is a type of kakanin, or glutinous rice cake in English. It's made with glutinous rice flour, deep-fried, and tossed in caramel. They have a chewy texture, similarly like mochi or buchi-buchi. You can find them sold as street food by many vendors on the major streets of Manila. They're usually sold alongside banana cue or kamote cue and often served on a skewer, making them easier to eat while on the go.
When I was going to school in the Philippines, the canteen typically sold Turon (banana lumpia) or karioka. So, I would choose one for meryenda, or snack, when I needed an afternoon pick-me-up. It was always a great day when I could go downstairs with a milk tea in one hand and a karioka in the other. Another fun fact, my mom used to get these as a snack after a morning of shopping at the palengke or flea market!
✨Why You’ll Love This Recipe
- Karioka is naturally gluten-free, so why not introduce this unique Filipino recipe to your gluten-free friends?
- It’s simple to make with only four ingredients and a few steps! You’ll be eating Filipino Karioka in no time.
- You get a taste of the Philippines right in your own home!
✏️Ingredient Notes
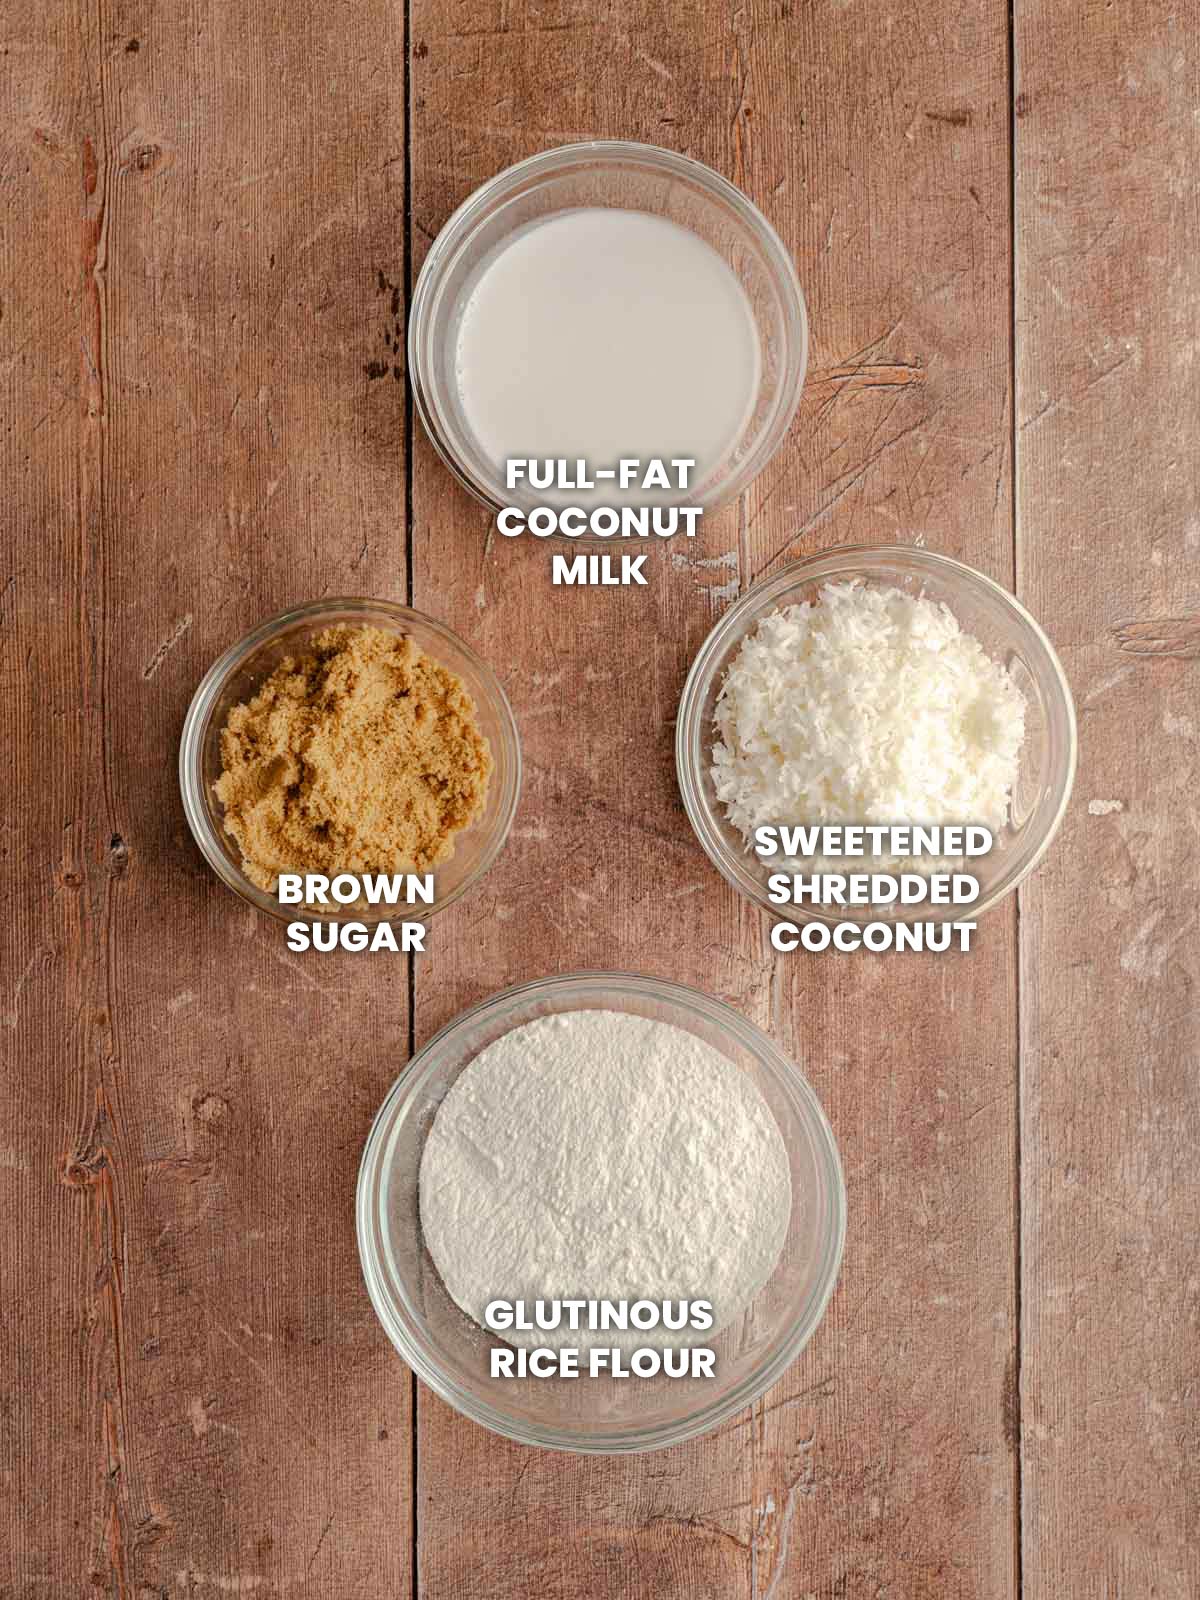
- Glutinous rice flour - It gives the karioka its distinct chewy texture. My favorite brand to use is Mochiko. Which I like to use in Mitarashi Dango or Mochi Donuts. Contrary to its name, glutinous rice flour contains no gluten at all!
- Full-fat coconut milk - While most people use water, I prefer to use coconut milk. It adds a rich flavor to the karioka!
- Sweetened shredded coconut - You can make karioka two ways, plain or with grated coconut. I’ve added this as an optional ingredient in case some of you want to add it. This gives it a burst of sweetness and more flavor.
- Brown sugar - Used to make the caramel or coconut syrup. The dough itself doesn't contain any sugar, so karioka relies on the caramel coating for its sweetness.
See the recipe card below for a full list of ingredients and measurements.
📝Substitutions & Variations
- Love coconut? Add desiccated coconut shreds to the dough for added flavor and sweetness!
- Don't want to make caramel? You can make coconut syrup instead. And it doesn’t need any new ingredients. Check out the recipe card for the measurements and instructions.
- Allergic to coconut? You can replace the coconut milk with water.
This recipe has not been tested with other substitutions or variations. If you replace or add any ingredients, please let us know how it turned out in the comments below!
🍴How to Make Karioka
Top Tip: Use a food scale to weigh out the ingredients. That way, you'll only need one or two bowls, and you won't have to wash a bunch of measuring cups!
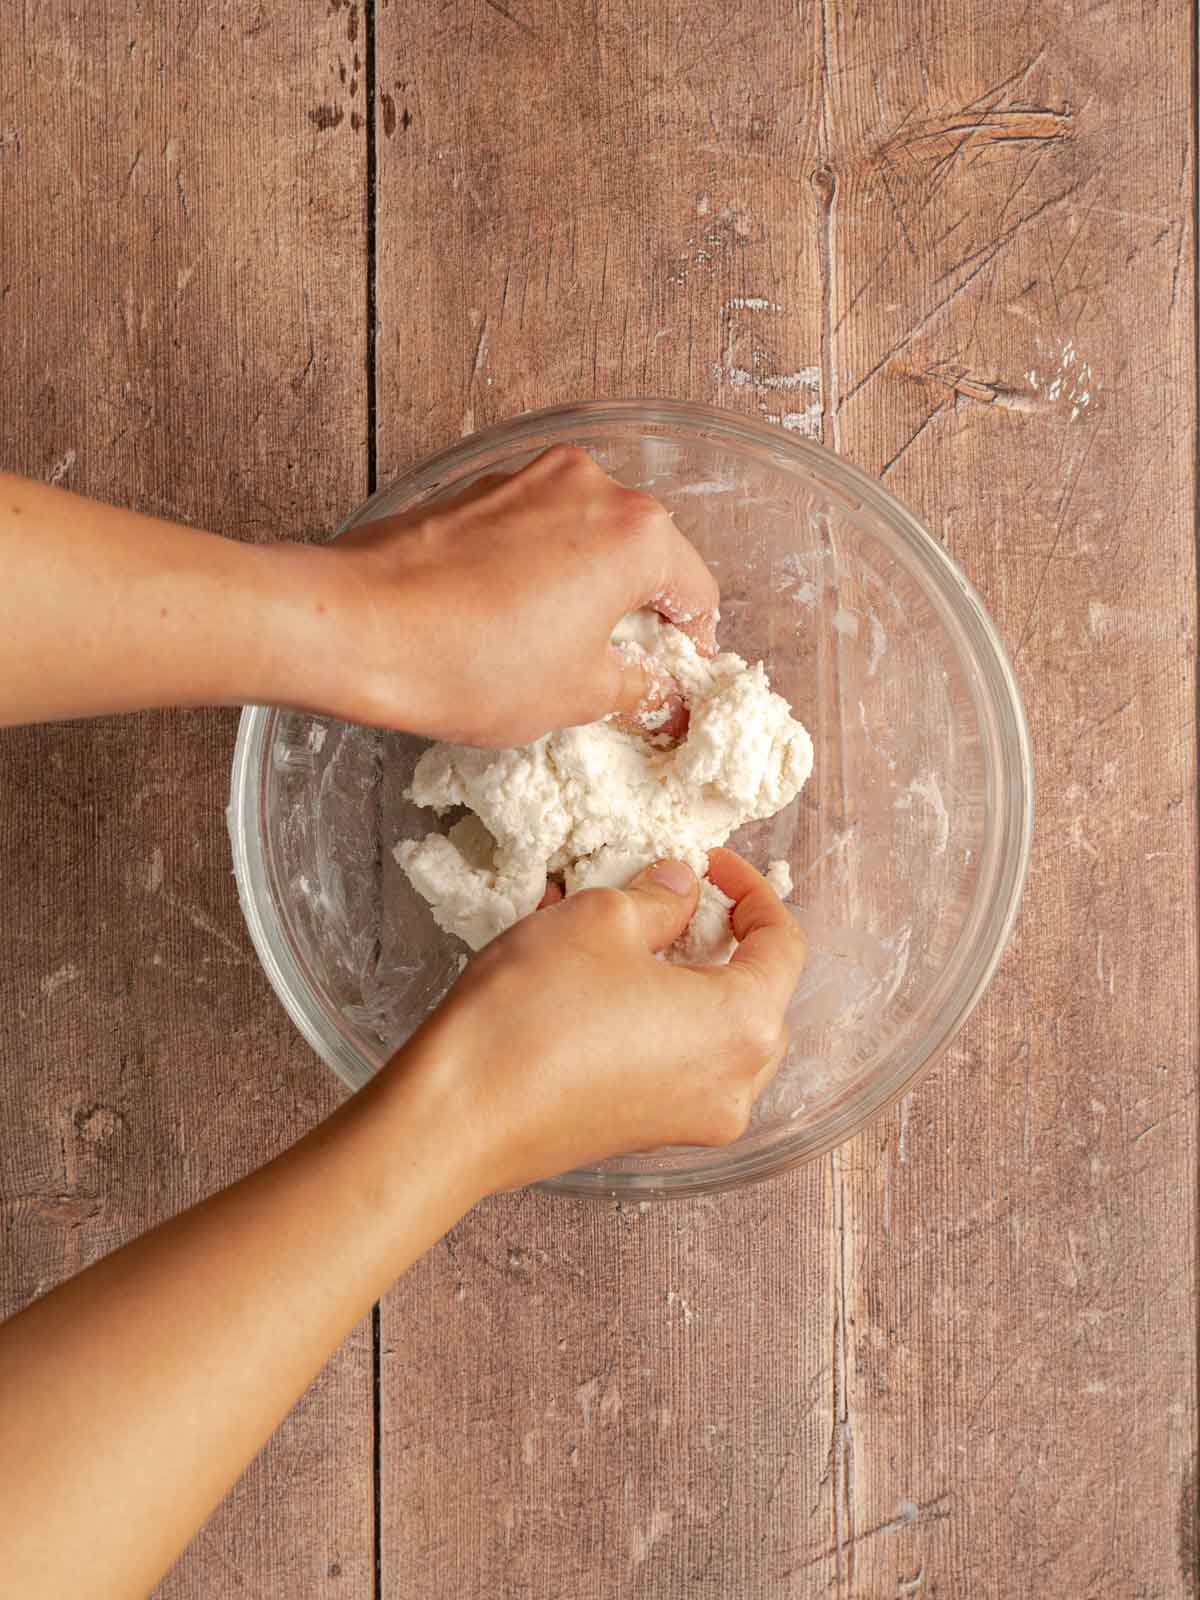
Step 1: Combine sweet rice flour, coconut milk, and shredded coconut (if using) in a large bowl. Mix the ingredients with a spatula until a shaggy dough has formed. Then use your hands to knead it together to form into a ball.

Step 2: Use a measuring tablespoon to form small balls of dough. Then, use your hands to roll the dough into smooth balls. You should have around 18 pieces of dough.
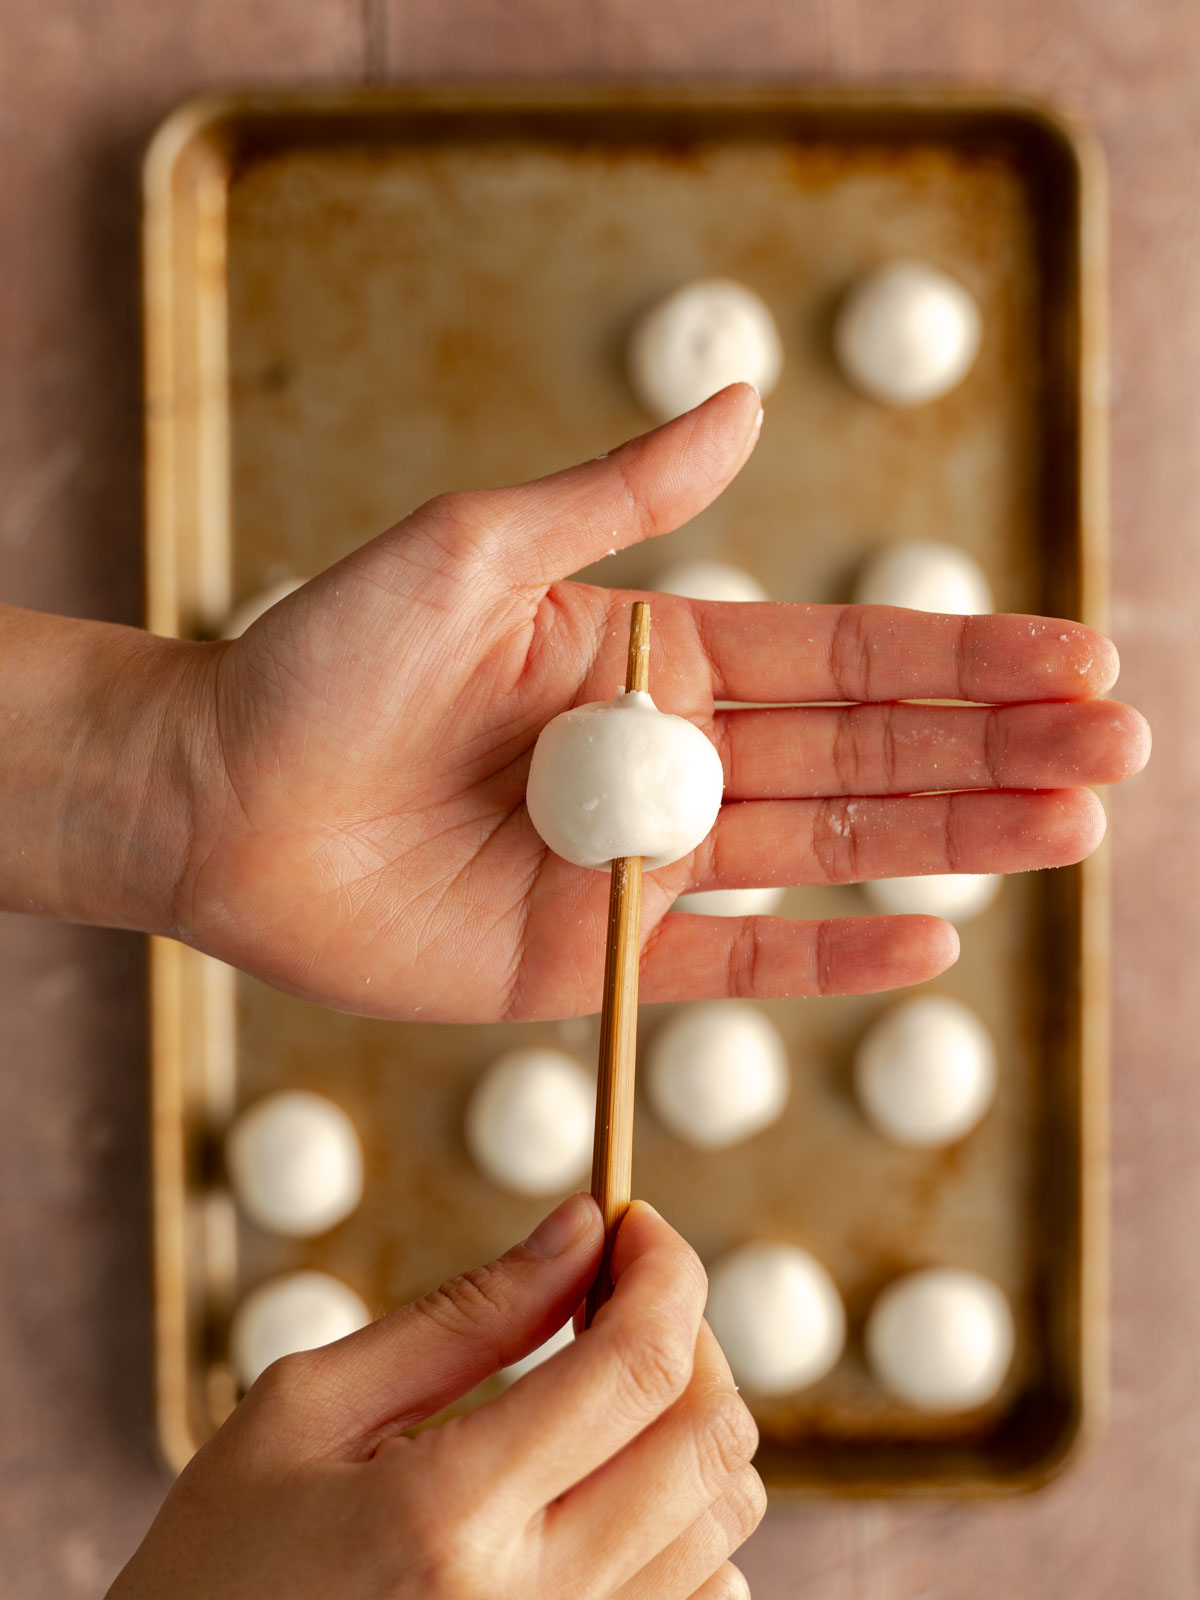
Step 3: Take a chopstick and poke a hole through each dough ball. This step is crucial. It will prevent the dough balls from bursting when frying. Do not skip this step!

Step 4: Fill a large frying pan with oil and place it over medium heat. Once the oil reaches a stable 350° Fahrenheit, carefully add the dough balls to the pan. Fry them until they turn a light golden brown. Turning them occasionally to ensure they cook all around. Do not let them get any darker, as you'll risk them from burning or bursting in the oil.
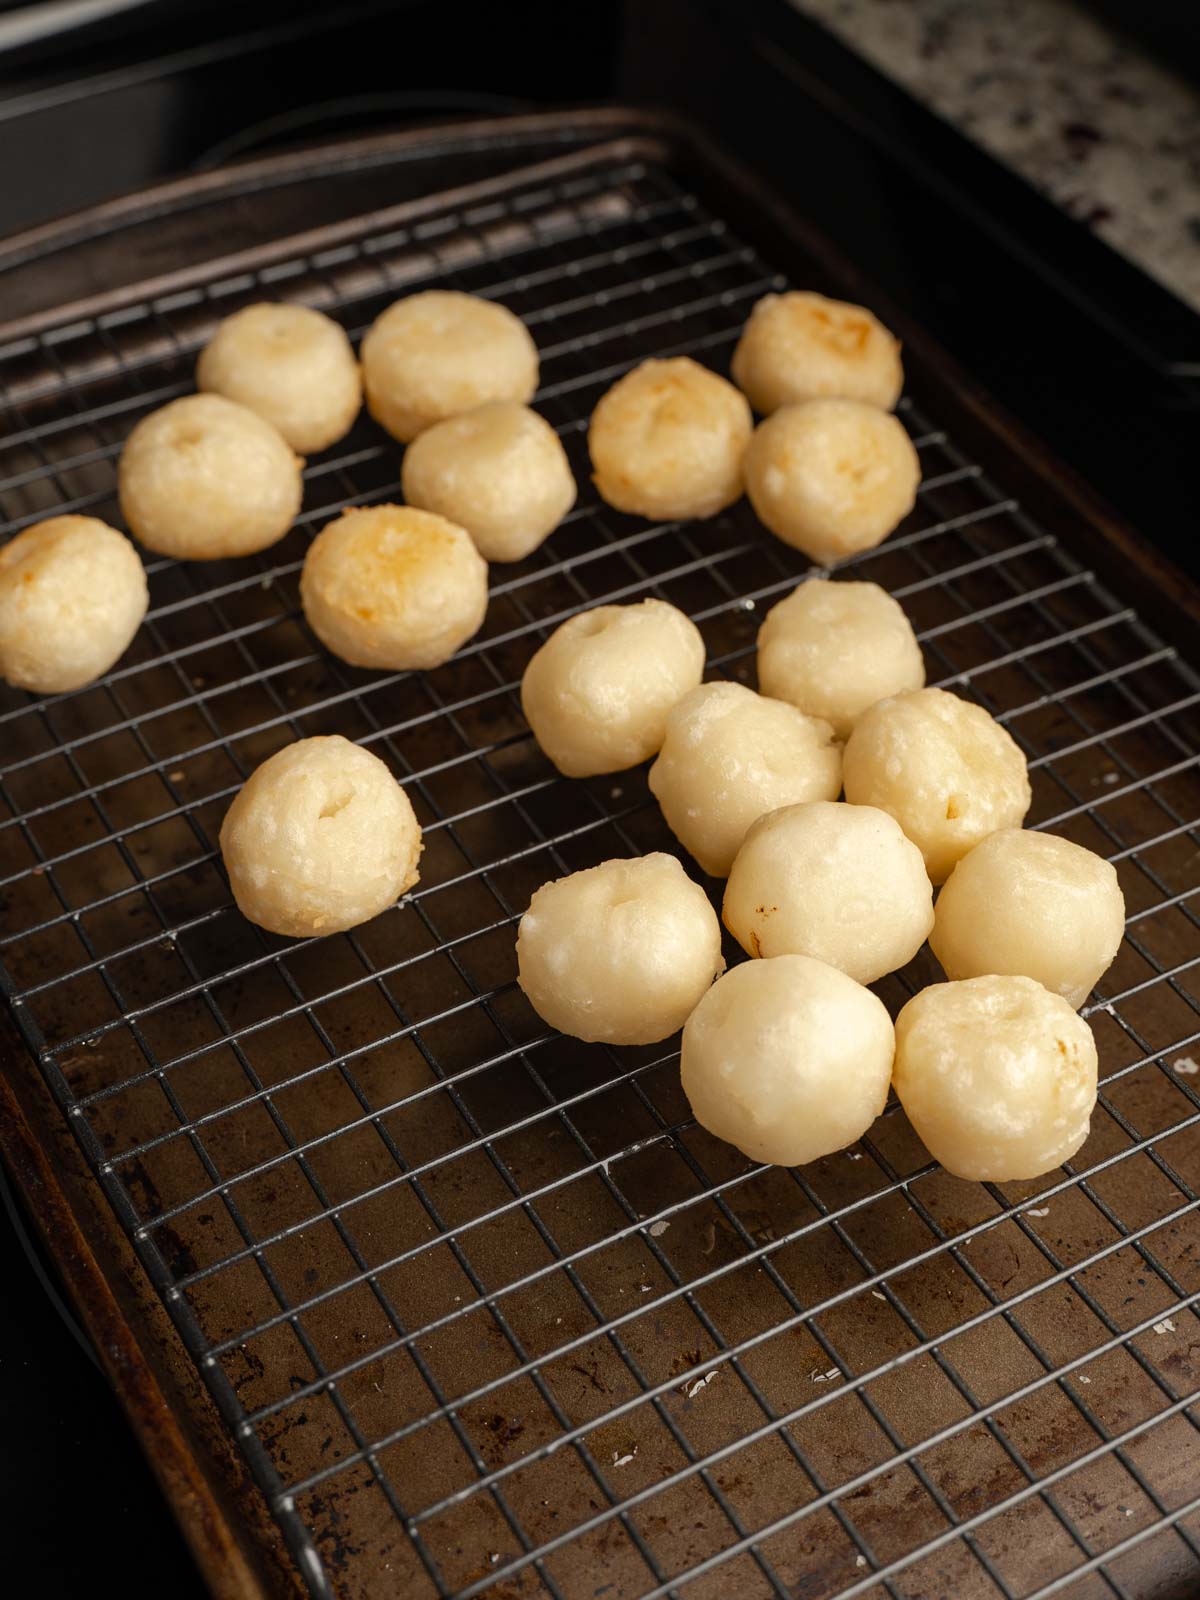
Step 5: Transfer the cooked karioka to a wire rack to cool and drain any excess oil while you make the caramel or syrup.
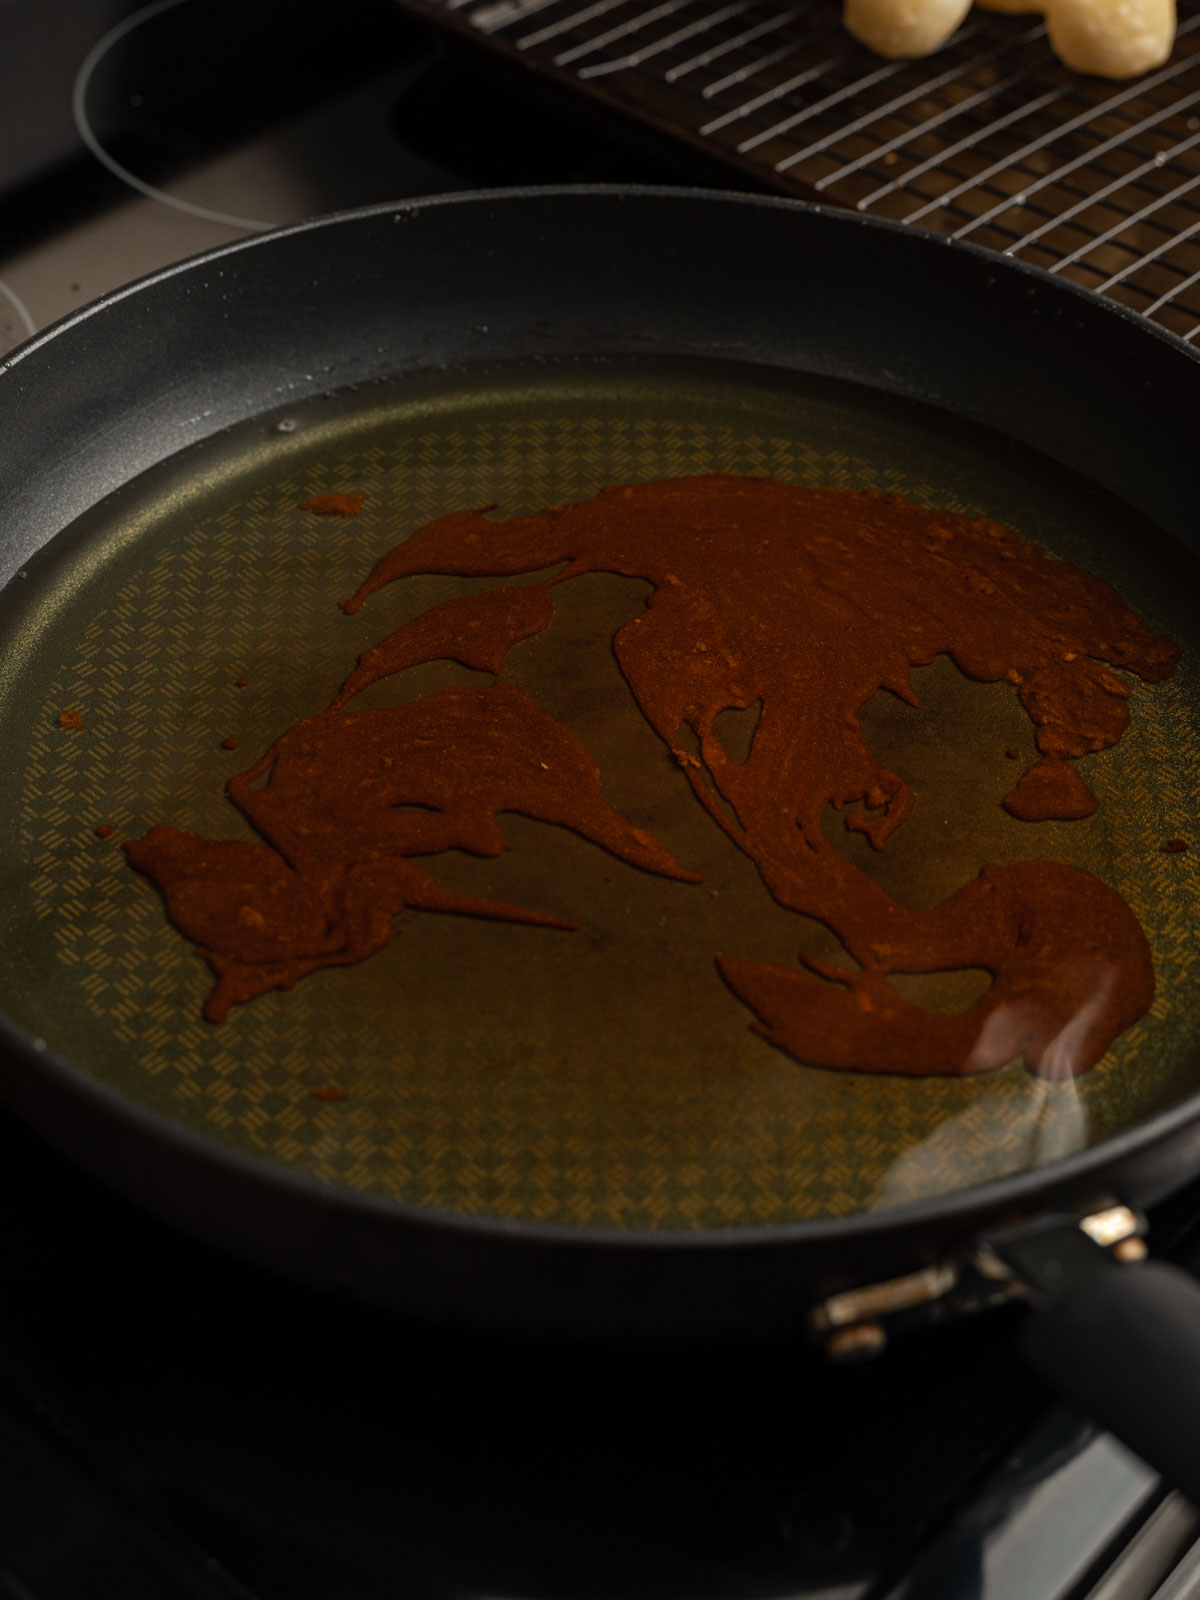
Step 6: Using the same pan to cook the karioka, reduce the heat to low, and add the brown sugar to the oil. Wait until the sugar starts to dissolve and melt.

Step 7: Return the cooked karioka to the oil and sugar. Gently toss until everything is well coated in the caramel. Use a slotted spoon or spider skimmer to remove the caramel-coated karioka from the pan. Shake off any excess oil and place the coated karioka on a wire rack to cool. It's important to avoid letting them stick together. It can be difficult to separate them once the sugar has cooled and hardened.
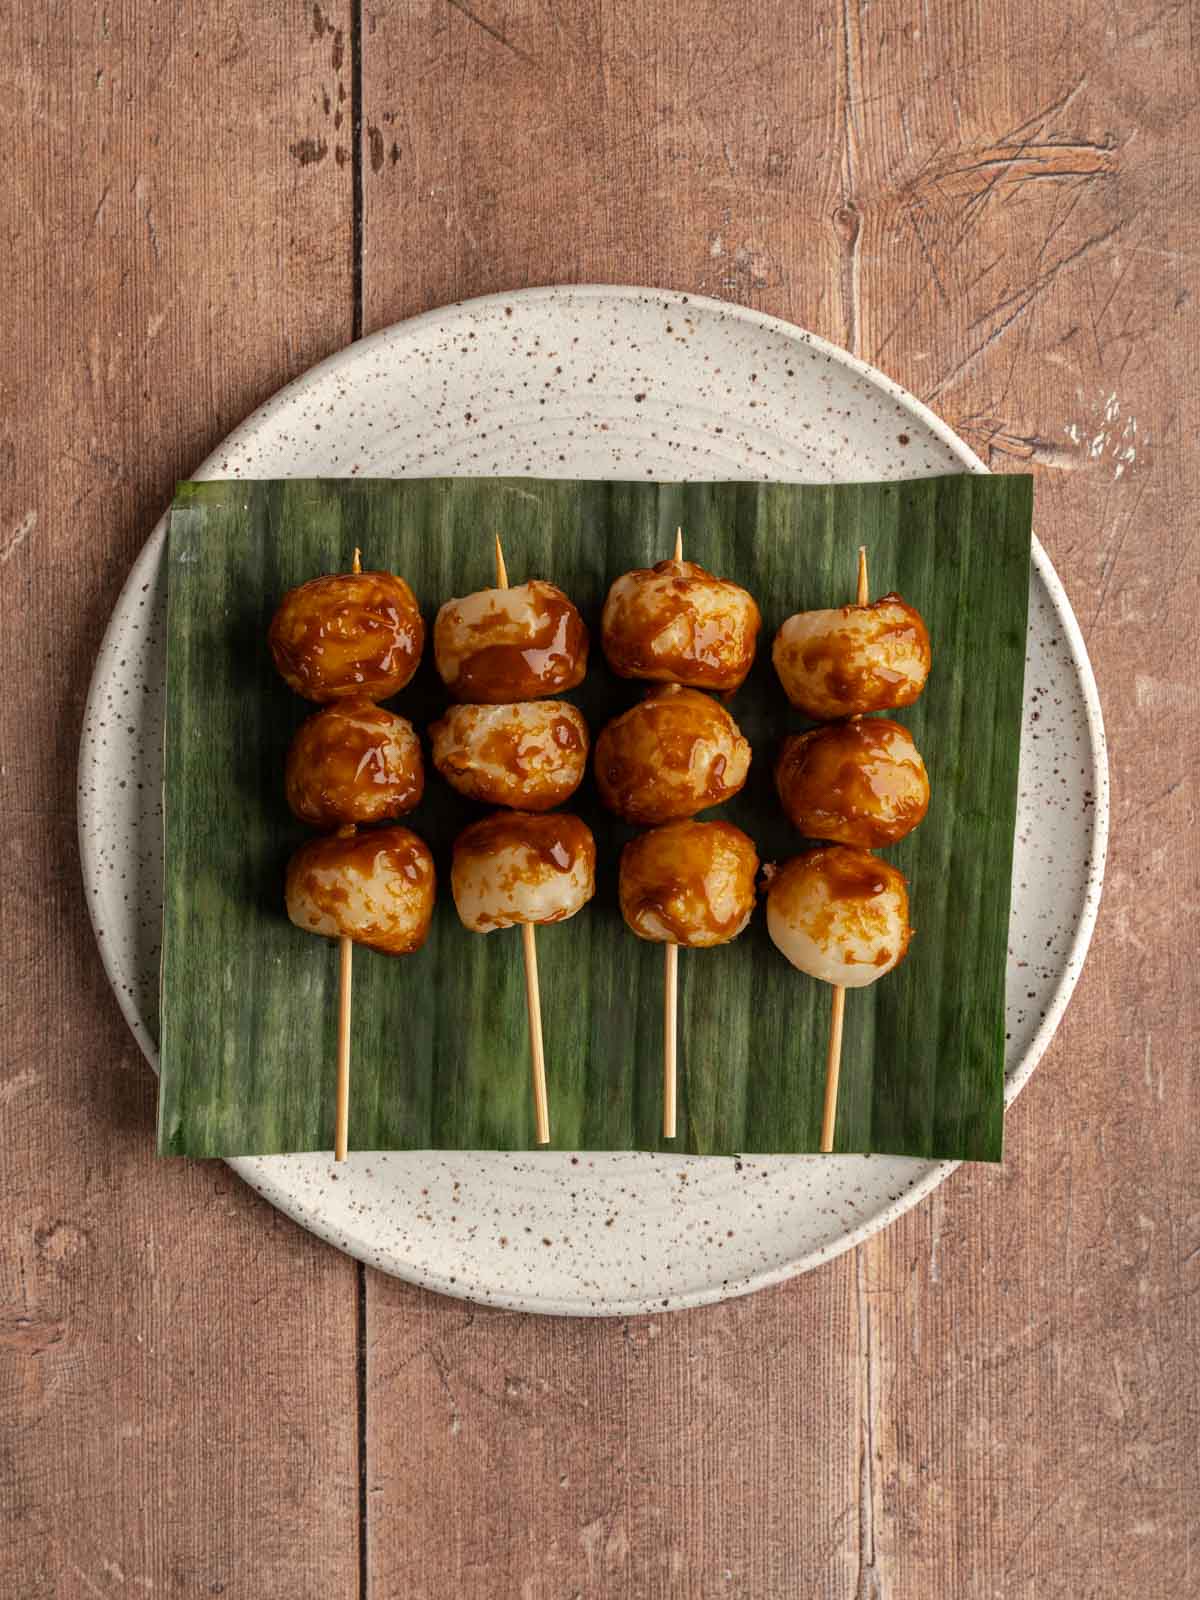
Step 8: When the caramel is cool, skew the karioka. Three on each stick, and serve!
⭐Expert Tips
- Poke a hole through each dough ball with a chopstick before deep-frying to prevent it from bursting.
- Use an instant-read food thermometer. You’ll want to keep your oil at a stable 350° Fahrenheit. This will help gauge how hot your oil is and how to adjust your heat.
- Use a wire rack with a rimmed baking sheet underneath to drain out any excess oil! This will keep the karioka from sitting in oil and keep them crispy for longer.
💭Common Questions
No, regular rice flour as it does not contain the same properties as glutinous rice flour. Karioka has a distinct chew texture, which glutinous rice flour can provide.
I have not tried this myself, so I can’t guarantee the outcome. But, if you decide to try it, please let me know how it turns out!
Yes! Karioka is naturally gluten-free.
I haven’t tried making caramel or syrup with sugar substitutes, so I can’t say for sure how it’ll turn out. If you decide to try it out, please let me know!

🍡How to Serve
Filipino Karioka is best eaten freshly made, while still warm. It’s perfect on its own. Pair it with a hot cup of coffee or tea.
🥣Storage & Reheating
- Room temperature
If you know you won’t be eating this right away, store these without the caramel or syrup. Serve only what you need. Place the plain, cooked karioka in an airtight container at room temperature for a day or two. - For leftovers
These are best eaten fresh, but if you have leftovers you can store them in an airtight container for a day or two. But, keep in mind, that the karioka will absorb the caramel or syrup. Making it soggy from when you first cooked it. - Freezing
I would not recommend freezing these as it will change the texture of the karioka. - Reheating
If want to eat karioka warm, I suggest microwaving it for a few seconds in the microwave. But eating it at room temperature should be fine.
Did you try this recipe? Please leave a 5-star ⭐️ rating and comment below! Tag @flouredframe on Instagram & Facebook!
📖 Recipe
Easy Filipino Karioka (Fried Sweet Rice Balls)
Equipment
- Food scale or measuring cups
- Large mixing bowl
- Spatula
- Tablespoon
- Chopstick
- Large frying pan
- Wire cooling rack
- Slotted spoon or spider skimmer
- 6-inch bamboo skewers
Ingredients
Plain Karioka
- 200 grams Glutinous Rice Flour (I used Mochiko)
- 160 grams Full-fat coconut milk (you can also use water)
- 2 cups Vegetable oil (for frying)
Caramel Coating
- 100 grams Brown sugar
Coconut Karioka (Optional)
- 200 grams Glutinous Rice Flour (I used Mochiko)
- 75 grams Sweetened shredded coconut
- 180 grams Full-fat coconut milk (you can also use water)
Coconut Syrup (Optional)
- 150 grams Light brown sugar
- 120 grams Full-fat coconut milk
Instructions
Karioka
- Combine sweet rice flour, coconut milk, and shredded coconut (if using) in a large bowl. Mix the ingredients with a spatula until a shaggy dough has formed. Then use your hands to knead it together to form into a ball.
- Use a tablespoon to form small balls of dough. Then, use your hands to roll the dough into smooth balls. You should have around 18 pieces of dough.
- Take a chopstick and poke a hole through each dough ball. This step is crucial. It will prevent the dough balls from bursting when frying. Do not skip this step!
- Fill a large frying pan with oil and place it over medium heat. Once the oil reaches a stable 350° Fahrenheit, carefully add the dough balls to the pan. Fry them until they turn a light golden brown and have slightly increased in size, turning them occasionally to ensure they cook evenly all around. Do not fry them until golden brown as you might risk them bursting. Transfer the cooked karioka to a wire rack to cool and drain any excess oil while you make the caramel or syrup.
Caramel Coating
- Using the same pan to cook the karioka, reduce the heat to low, and add the light brown sugar to the oil. Wait until the sugar starts to dissolve and melt.
- Return the cooked karioka to the oil and melted sugar, and gently toss until everything is well coated in the caramel.
- Use a slotted spoon or spider strainer to remove the caramel-coated karioka from the pan. Shake off any excess oil and place the coated karioka on a wire rack to cool. It's important to avoid letting them stick together, as it can be difficult to separate them once the sugar has cooled and hardened.
- When the caramel is cool to the touch, skewer the karioka. Three on each stick, and serve!
Coconut Syrup
- Combine the light brown sugar and coconut milk in a saucepan over medium-low heat. Cook until all the sugar has dissolved and it starts to thicken. Allow to cool slightly before using.
- Skewer the karioka, three on each stick, then pour the coconut syrup over top. Serve and enjoy!
Notes
- Maintain oil temperature. Use an instant-read food thermometer to keep the heat of the oil at a stable 350° Fahrenheit during frying. Too low and the karioka will absorb more grease. Too high, and they will easily brown on the outside before being cooked through on the inside, which can cause the karioka to burst.
- An alternative way to check oil temperature. Take one end of a wooden skewer (not a toothpick) or a wooden spoon and dip it in the oil. If bubbles are forming around it and they float up, your oil is ready, if it's bubbling vigorously, it's too hot. This method doesn’t guarantee an accurate reading.
- The nutritional information below is for plain karioka and caramel.


Leave a Reply