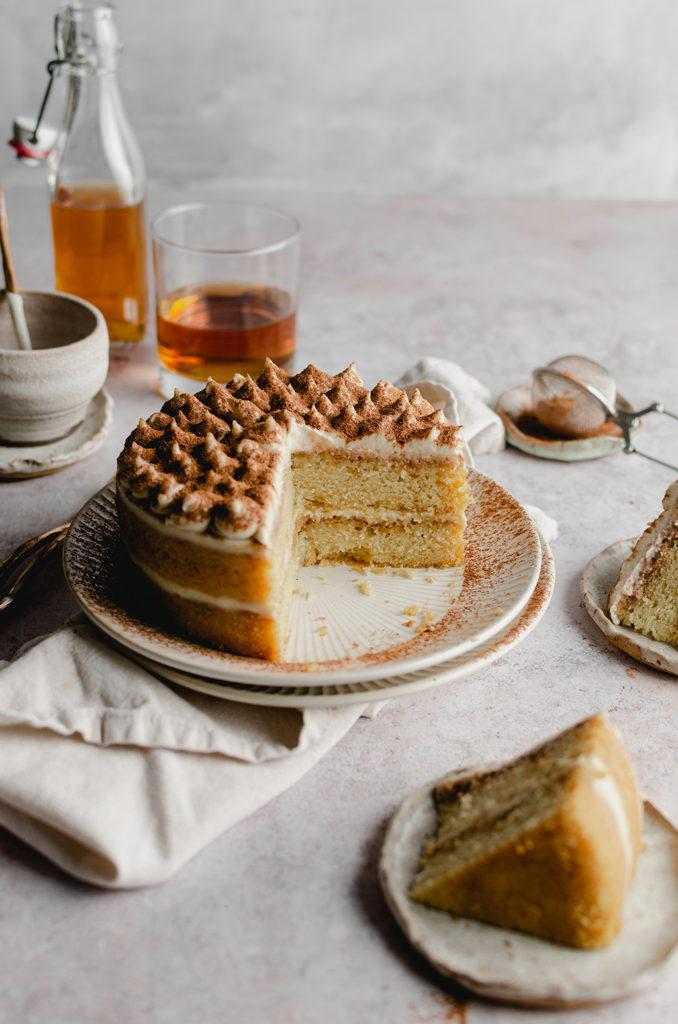
Vegan tiramisu cake - a layered cake version of the Italian classic. Infused with delicious coffee syrup and filled with luscious vegan mascarpone. It's light, fluffy, and rich all at the same time. If you're looking for a dessert to make for a special occasion, like, let's say, Valentine's Day? Since we are in the month of February, this will be the perfect dessert to make for your loved ones or anytime of the year!

How did I come up with this recipe? Well, honestly, I was highly inspired by the Great British Bake Off. It was the season with Mary Berry in it, and it was a technical challenge that the bakers had to do. The tiramisu cake was made with thinly sliced genoise cakes, doused with coffee syrup, and mascarpone cheese. I knew I wanted to make my own simpler and vegan version of this.
My first rendition of this cake was in 2019, and it was absolutely delicious, but it was not beginner friendly. I tried other versions where I made them in fancy jars, but I thought that it was too simple. So, I eventually came up with this version. Still pretty easy to make, but unlike my first version, you wouldn't need to cut the cakes into thin layers.
Important Equipment:
- Kitchen scale - If you've been following me for a while now, I always use a scale for baking. It's way more accurate than using cups, and also fewer dishes to clean.
- 6-inch cake pans - I personally like using 6-inch cakes because the only people in my household are just me and my husband. It's a great size for a small household or party. You can use 8-inch cake pans, but you will need to double the recipe.
- Offset spatula - To level off the cakes as you add the frosting.
- Bench scraper - To clean up any excess frosting from the sides of the cake.
- A serrated knife or cake leveler - To remove the domes and level off the top of the cake. The cake leveler is another tool to help level off the cake, it is optional, but it is easier to use.
- Cake turntable or lazy susan - A cake turntable is definitely nice to have when you're making cakes. It helps rotate the cake as you're frosting or decorating a cake. Now I know most of you won't invest in one of these if you're not a hardcore cake baker, so another option is using a lazy susan for spices. It's not as smooth and it is not elevated as a cake turntable, but it's a cheaper option.
- High-speed blender or food processor - This is needed to make the filling, we need to blend all the ingredients for a smooth consistency.
Top Tips For Making Vegan Tiramisu Cake:
- Split the work into 2 days. This is just to maximize efficiency and also to make things easier. So how do I do this? I simply bake the cake and mascarpone filling on Day 1. On Day 2, I assemble and serve! This just makes it so that you’re not in the kitchen all day long.
- Chilling the cake overnight. This is the reason why I make the cake on one day because I like to chill the cake in the fridge overnight. It makes the cakes much easier to work with than a freshly baked cake. Another thing to note, since we are drenching these cakes with coffee syrup, it will make the cake moist and soft. So working with cold cakes will ensure that they will not cave in. Please, do not try to rush this and do this with freshly baked cakes.
- Chilling the mascarpone filling. Another reason why I split the work into two days. The mascarpone filling is very runny after you blend it up. Allowing the filling to chill in the fridge overnight allows it to firm up, and will make it easier to work with.
- The fridge will be your best friend. Since mascarpone filling is not a classic buttercream frosting, it will soften quickly. And if you’re living in a warmer climate, this will make it just a bit difficult to work with. If you ever feel that the filling is getting way too soft, stick in the fridge for 30 minutes to an hour to firm up again.
If you tried this recipe, let me know what you think in the comments below. You can also share it with me on Instagram, just tag @flouredframe. I would love to see your recreations! Happy baking!
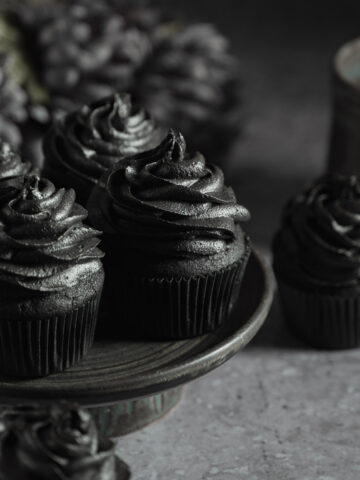
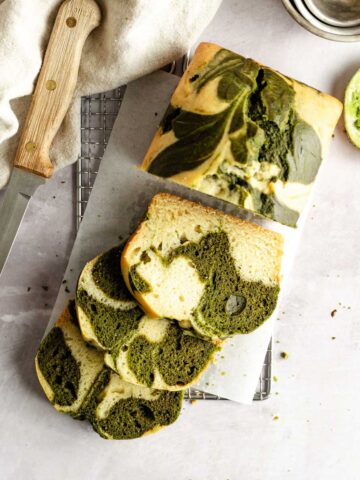
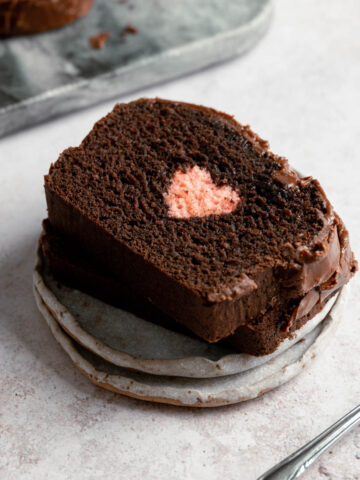
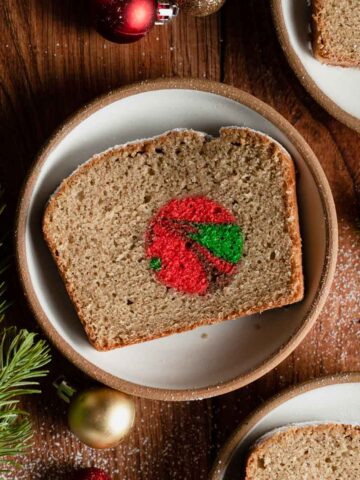
If you like this vegan tiramisu cake recipe, check these out:
As an Amazon Associate I earn from qualifying purchases.
📖 Recipe

Vegan Tiramisu Cake
Equipment
- Food scale highly recommended
- 2 6-inch cake pans
- Parchment Paper
- Measuring spoons
- Electric hand mixer or stand mixer
- Mixing bowls
- Rubber spatula
- Wire cooling rack
- High-speed blender
- Cake turntable optional
- Offset spatula
- Piping bag
- Piping tip
- Dusting wand or a fine mesh sieve
Ingredients
Cake
- 240 grams non-dairy milk, I used soy
- 1 teaspoon white vinegar
- 1 teaspoon vanilla extract
- 162 grams all-purpose flour, leveled and sifted
- 2 tablespoons potato starch
- 150 grams granulated sugar
- ½ teaspoon salt
- ½ teaspoon baking powder
- ¼ teaspoon baking soda
- 60 grams vegetable oil
- 24 grams vegetable shortening
Vegan Mascarpone Filling
- 150 grams raw cashews
- 1-2 cups hot water (to soak cashews in)
- 120 grams coconut cream
- 1 tablespoon lemon juice
- ½ teaspoon salt
- 25 grams powdered sugar
Coffee Syrup
- ¼ cup brewed coffee
- 2 tablespoons granulated sugar
- 1 tablespoon rum (optional)
Toppings
Instructions
Day 1
Make the Mascarpone
- In a large bowl, soak the cashews in hot water for 30 minutes.
- Drain the cashews from the water, and place them in a high-speed blender. Along with coconut cream, lemon juice, salt, and powdered sugar.
- Blend until you get a smooth texture.
- Transfer to a bowl, and allow the mascarpone to chill in the fridge overnight. The mascarpone will be fairly runny, chilling it in the fridge overnight will allow it to firm up and will be easier to work with when we assemble.
Bake the cakes
- Preheat the oven to 350° Fahrenheit. Lightly grease the bottom of two 6-inch round cake pans, and line it with parchment paper. Greasing it will help the parchment stick.
- Next, combine the non-dairy milk, vinegar, and vanilla extract. Set aside to curdle.
- In a large mixing bowl, mix together the dry ingredients. Flour, sugar, potato starch, baking powder, baking soda, and salt.
- Add in the vegetable oil and vegetable shortening to the dry ingredients and use an electric hand mixer or stand mixer to combine. The vegetable shortening will be difficult to mix in, but try your best to break it up until you get a crumbly, almost sandy texture.
- Add a third of the milk mixture, and mix until you get a fairly smooth batter. Add half of the remaining milk mixture and repeat. Finally, add in the remaining milk mixture and continue to mix until you get smooth and fairly running batter.
- Evenly distribute the cake batter into the prepared cake pans, and tap the pan onto a work surface to release any bubbles.
- Bake for 20 minutes. Insert a toothpick and if it comes out clean, then it is done. Allow the cake to cool for 15 minutes in the pan. Then transfer it to a cooling rack to finish cooling.
- When your cakes are fully cooled, use plastic wrap or a reusable zipped bag to place the cakes in. Transfer the cakes to the fridge to rest overnight along with the mascarpone filling. See notes
Day 2
Assembly
- First, in a small bowl, combine the brewed coffee, sugar, and rum (if using). Mix until all the sugar has been dissolved. Set aside until ready to use.
- Then, remove the cakes and mascarpone filling from the fridge. Remove the cakes from the plastic wrap or zipped bag and peel off the parchment paper on the bottom. Place the cakes on a flat surface, like a large chopping board.
- Next, take a serrated knife or cake leveler to evenly cut the dome from the top of the cake. I like getting down at eye level with my cake to see if it is leveled
- After, place your desired serving plate or a 6-inch cake board onto a cake turntable or lazy susan. Add a bit of the mascarpone filling on the plate or cakeboard, and place your first cake layer over top. The small dollop of the filling underneath the cake helps it from sliding around as you decorate it.
- Next, use a spoon to generously spread half of the coffee syrup over the cake. See notes
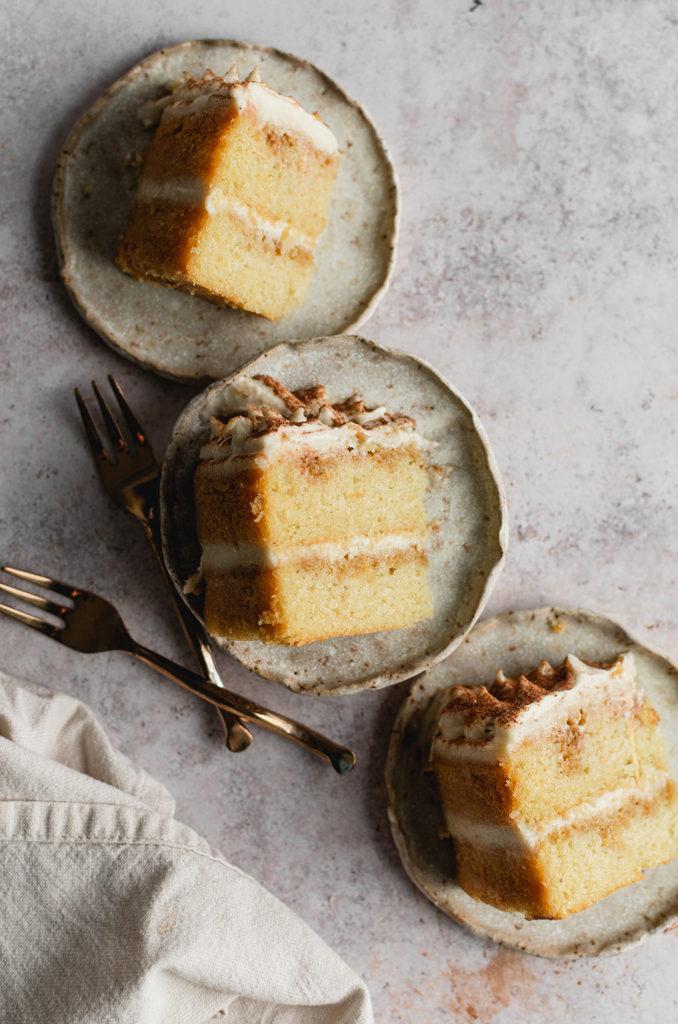
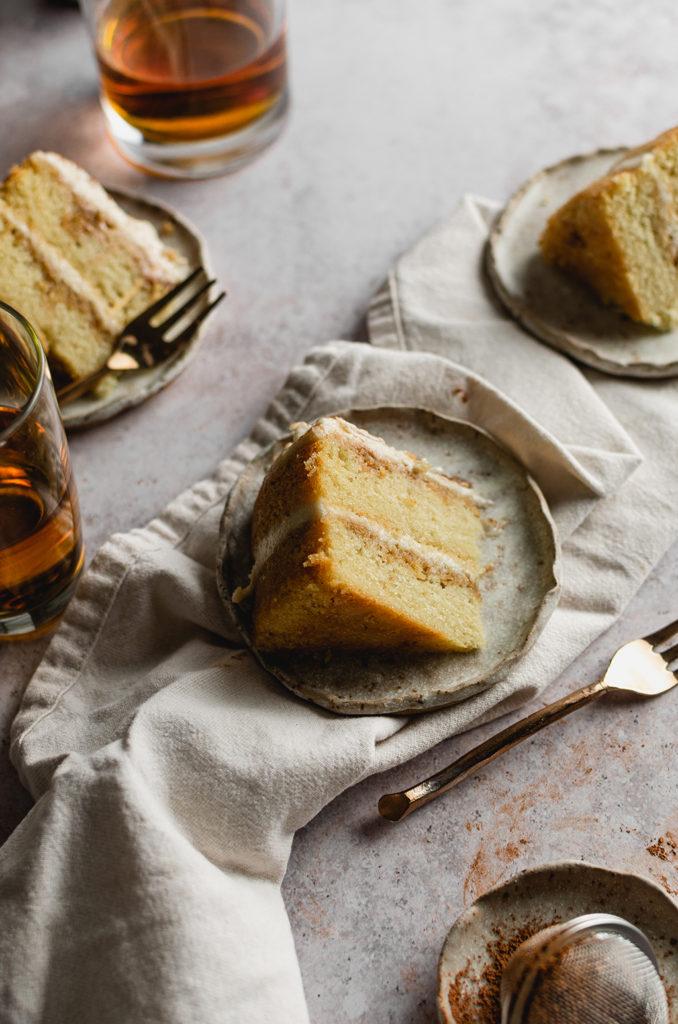
- Then, add a few scoops of the mascarpone filling onto your first cake layer. Use your cake turntable and offset spatula to smooth it down until it’s about ⅓ inch thick. Make sure the filling is as level as possible, so be sure to get down to eye level and check to see that it’s nice and even before adding your next cake layer. It’s okay if the filling is overflowing off the edges, we will clean that up later. See notes
- Gently stack the second cake layer, make sure to check that the cake is not leaning to one side. Add the remaining coffee syrup and add another layer of the mascarpone filling to the second cake layer.
- Use your bench scraper and the turntable to smooth and clean up the sides of the cake. Discard any excess filling back to the bowl of the remaining mascarpone.
- Carefully transfer the cake to the fridge to chill for 30 minutes to an hour. This will just help the cake and the filling to firm up before we continue to decorate. At this stage, place the remaining mascarpone filling in the fridge to chill as well.
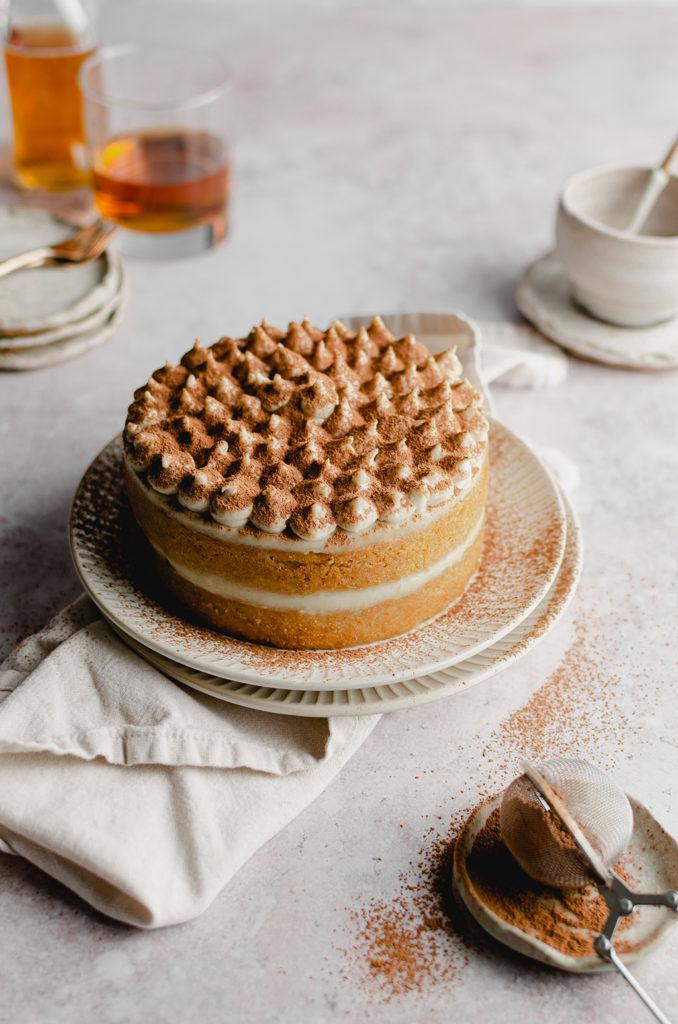
- Remove the cake from the fridge, and place it over the cake turntable once again. Fit your favorite piping tip into a piping bag, and fill it with the remaining mascarpone. Then, decorate the cake how you like!
- Finally, dust the top of the cake with cocoa powder using a small fine-mesh sieve and about a tablespoon of cocoa powder. Chill the final cake in the fridge for 30 minutes before serving!
Notes
- Measure your flour correctly. I test my recipes, 100% in grams. A common reason baked goods fail is incorrectly measured flour. I always recommend using a scale for accuracy when baking. This greatly improves your chance for success and lessens room for error.
- If you measure by cups, avoid scooping the measuring cup directly into the flour. This tends to pack the flour into the cup, resulting in too much flour and a very dense or gummy finished product. Instead, aerate your flour (fluff it with a fork or spoon) and then spoon it into your measuring cups, leveling it with your finger or the back of a butter knife. Keep in mind though, that this method is not guaranteed to be accurate.
- Split the work into 2 days. This is just to maximize efficiency and also to make things easier. So how do I do this? I simply bake the cake and mascarpone filling on Day 1. On Day 2, I assemble and serve! This just makes it so that you’re not in the kitchen all day long. You can do this in one day, but if you do, I highly suggesting starting early in the morning.
- Chilling the cakes overnight. This is the reason why I make the cake on one day because I like to chill the cake in the fridge overnight. It makes the cakes much easier to work with than a freshly baked cake.
- Since we are drenching these cakes with coffee syrup, it will make the cake moist and soft. So working with cold cakes will ensure that they will not cave in. Please, do not try to rush this and do this with freshly baked cakes.
- The mascarpone filling is very runny after you blend it up. Allowing the filling to chill in the fridge overnight allows it to firm up, and will make it easier to work with.
- Since mascarpone filling is not a classic buttercream frosting, it will soften quickly. And if you’re living in a warmer climate, this will make it just a bit difficult to work with. If you ever feel that the filling is getting way too soft, stick it in the fridge for 30 minutes to an hour to firm up again.
Michelle | Sift & Simmer says
This tiramisu cake looks so heavenly, Keisha! Save me a slice!
Floured Frame says
Thank you, Michelle! I'll definitely save you a slice! 🙂