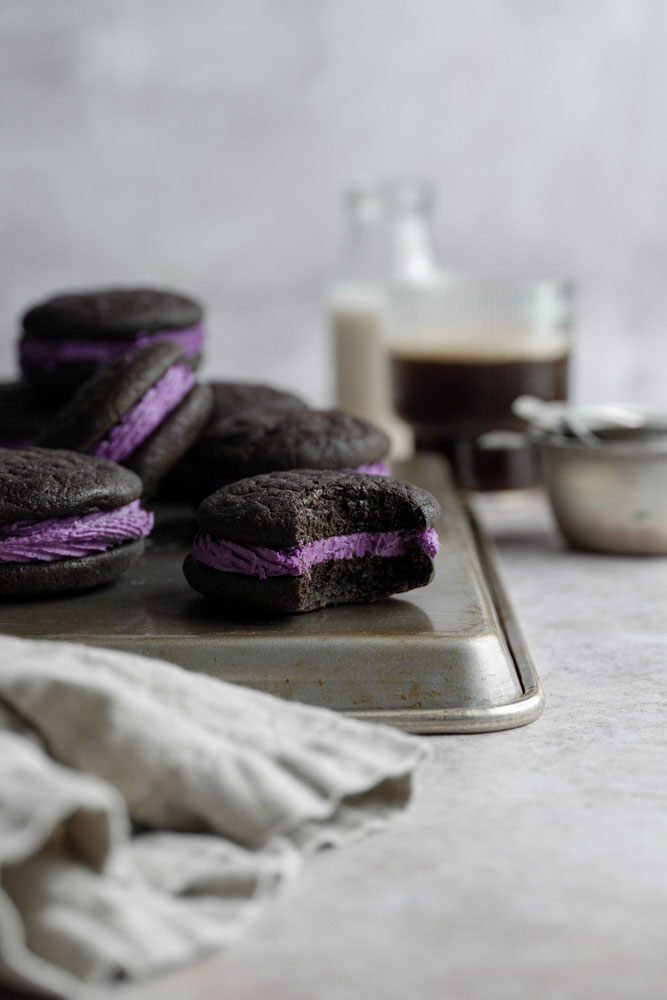
Chocolate ube whoopie pies, I bet you’ve never heard of that combination before! Well, listen up, this is no ordinary chocolate whoopie pie. Not only are these cookies vegan, but they are also flavored like the iconic black cookie, the Oreo! That’s right and filled with ube buttercream frosting. It's the best flavor combo in my book. Trust me on this, these two flavors a like a match made in heaven. Sweet ube frosting sandwiched in-between two cake-like chocolate cookies. They’re super easy to make and fun to eat! You won’t want to miss out on these babies.
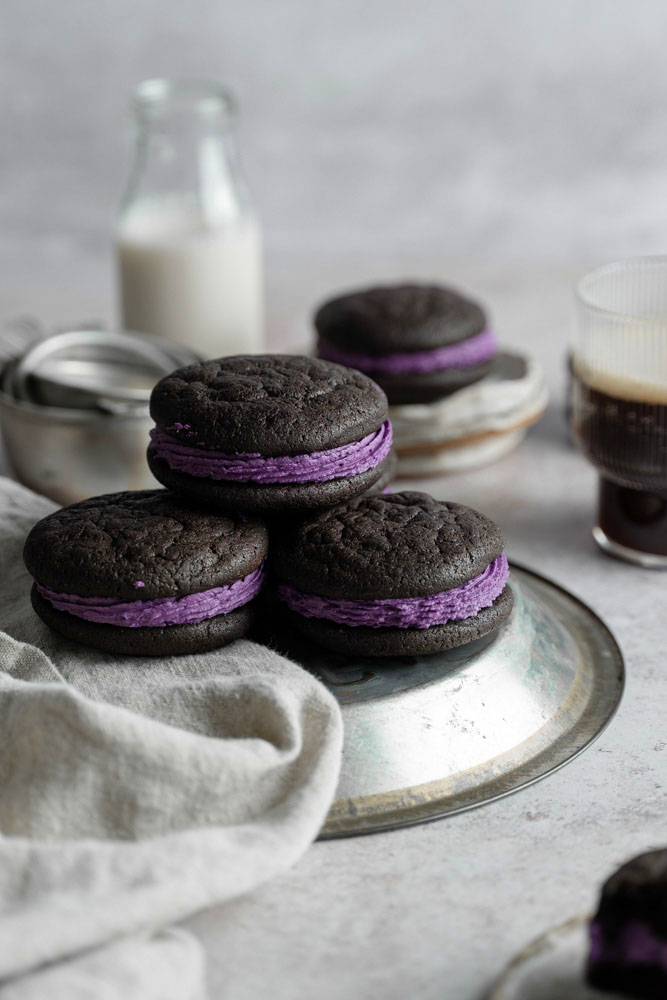
So, I bet you’ve never heard of the flavor combination of Oreo and ube. As I have said, it’s the best flavor combination ever. I dare you to name a better pairing! The flavor from the black cocoa is deep and bold and levels out the sweetness of the ube. Funny enough, when I first tried this combo of flavors, it blew my mind away. Although, I’ve only had It in a cheesecake form. Made with an Oreo crust and ube cheesecake base, and topped with more Oreos. Since then, I knew I had to make more Oreo and ube flavored desserts!

If you haven’t heard of ube (oo-beh), where have you been? Ube is a purple yam and is a staple ingredient for Filipino desserts. So, they're usually boiled and mashed, and used a lot in jams to color sweet treats. Also, they have a mild and sweet flavor, which some have said is a cross between vanilla and pistachio. Another thing, most people confuse it with taro, and the short answer is, no, they are not the same. Taro is often used in savory cooking, while ube is used for sweets. So if you’ve ever seen a purple dessert or drink that’s labeled as taro, it’s most likely be.

Ingredients for making chocolate ube whoopie pies:
- Softened vegan butter
- All-purpose flour
- Black cocoa powder
- Baking powder
- Baking soda
- Salt
- Granulated sugar
- Vanilla
- Non-dairy milk
- Ube extract
- Powdered sugar
Top tips for chocolate ube whoopie pies:
- Soften your vegan butter. Before you start, remove the butter from the fridge and allow it to soften at room temperature. Depending on the vegan butter you get, this can take around 30 minutes up to an hour.
- Use a food scale. A common reason why baked goods fail is incorrectly measured flour. I always recommend using a food scale for accuracy when baking. This greatly improves your chance for success and lessens room for error. If you're wondering, I always test my recipes in grams.
- Use an electric hand mixer or stand mixer. The only reason is that you’ll need to cream the butter for both the cookies and the frosting. While you can do it with your arms, it will take a lot of arm strength to do that. That’ll be quite an arm workout. Make it easier for yourself and use a machine!
- Chill the cookie dough. This dough is fairly wet and chilling the dough will make it easier to handle. Not only that, but it will also give the cookies more flavor in the long run. So chill the dough for 1 hour before you bake them!
- Allow the cookies to cool completely. Before you add any frosting to these cookies or any baked goods, you must have them cool completely. Otherwise, your frosting is going to melt and you’ll end up with a goopy mess!

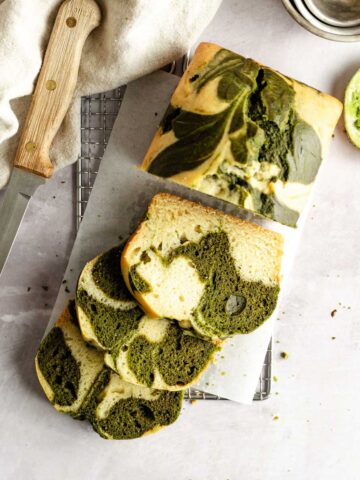
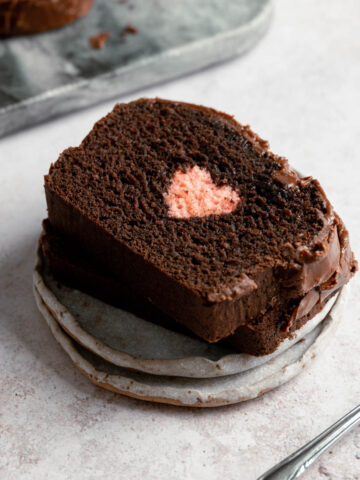
If you enjoyed this recipe, you might want to check these out:
If you tried this recipe let me know in the comments and rate it down below! Don’t forget to follow me on Instagram @flouredframe for more delicious recipes. While you’re at it, don’t forget to tag me whenever you recreate my recipes! Happy baking!
As an Amazon Associate, I earn from qualifying purchases.
📖 Recipe

Chocolate Ube Whoopie Pies
Equipment
- Food scale highly recommended
- Measuring spoons
- Stand mixer or electric hand mixer
- Mixing bowls
- Bowl cover
- Parchment Paper
- Rimmed baking sheet
- Medium cookie scoop
- Wire cooling rack
- Piping bag
- Star piping tip
Ingredients
Cookies:
- 140 grams vegan butter (softened room temperature)
- 300 grams all-purpose flour
- 25 grams black cocoa powder
- ½ teaspoon baking powder
- ¼ teaspoon baking soda
- 200 grams granulated sugar
- 120 grams lukewarm non-dairy milk, I used soy
- 1 teaspoon vanilla extract
Ube Frosting:
- 56 grams vegan butter (softened room temperature)
- 120 grams powdered sugar
- 2 teaspoons ube extract (see notes)
- ¼ teaspoon vanilla extract
- 1-2 teaspoons non-dairy milk (add only if needed)
Instructions
Cookies:
- First, set out your butter (this includes the butter for the frosting) from the fridge to soften at room temperature. Depending on what brand you are using this could take from 30 minutes up to an hour. Do not start this recipe with cold butter and don’t be tempted to melt the butter either!
- Next in a medium-sized mixing bowl whisk together the flour, black cocoa powder, baking powder, and baking soda. Set aside.
- In a large bowl, using a stand mixer or electric hand mixer, on high speed, mix the softened vegan butter, sugar, and vanilla extract until light and creamy.
- To the bowl, add the dry ingredients to the wet ingredients and combine them at low speed. You are looking for a thick batter-like consistency.
- Cover the bowl and place it in the fridge to chill for 1 hour. While you wait, preheat the oven to 350° Fahrenheit and line two large baking sheets with parchment paper. Set aside until ready to use.
- After an hour the dough should be easier to handle. Depending on the size you are going for, use a small or medium-size cookie scoop to scoop out the dough onto the parchment-lined baking sheet. Leaving about 2-inches of space in-between each cookie dough. You can roll the cookies with your hands if you like a more consistent round shape.
- Bake for 15 minutes. Remove from the oven and let it cool on the pan for 10 minutes. Then transfer to a wire cooling rack to finish cooling. Allow the cookies to cool completely before you add the frosting.
Frosting:
- Meanwhile, in another mixing bowl, beat the softened butter until light and creamy.
- Add in the powder sugar in batches, until well combined.
- Then add in the ube extract and the vanilla extract. Mix until well combined.
- If your frosting seems too wet add in more powdered sugar. If it’s too stiff and doesn’t spread well, add in 1-2 teaspoons of non-dairy milk. You are looking for buttercream that is soft and easily spreadable while holding its shape.
- If you want, you can transfer the frosting into a piping bag fitted with your preferred piping tip. You can also just spread the frosting with a butter knife.
Assembly:
- Take one cookie and spread a thick layer of the ube frosting. Take another cookie and sandwich it on top of the frosting. Repeat for the rest.
- When you are done, you can serve right away or keep it in the fridge, covered, to allow the frosting to set. Enjoy!
Notes
- Measure your flour correctly. I test my recipes, 100% in grams. A common reason baked goods fail is incorrectly measured flour. I always recommend using a scale for accuracy when baking. This greatly improves your chance for success and lessens room for error.
- If you’re not ready to assemble, you can keep the cookies and buttercream in the fridge until you are ready. Allow the buttercream to soften at room temperature before you use it.
- Chilling the dough before you bake has many benefits. It will help the cookies spread evenly, you can handle the dough easier, and believe it or not, it helps develop more flavor! So don’t skip this step. You can also keep the dough in the fridge overnight if you are not ready to bake. But I wouldn’t keep it in the fridge for longer than that.
- Store in an airtight container and place it in the fridge.
- These cookies can also be kept in the freezer for about a month.


Brittany Gudino says
What an ahhhmazing idea! I made this recipe but not vegan and oh my goodness! This is my favorite ube dessert. I flavored a traditional marshmallow cream with ube and it was so delicious!
Thank you for the recipe !
Floured Frame says
Amazing! I'm so glad that I was able to give you some inspiration! 🙂