Are you craving some delicious, chewy New York-Style Bagels? Well, look no further, these homemade bagels are simply the best. They're super flavorful and have a nice golden, toothsome crust. The perks of making these bagels from home are that you get them hot and fresh! There's nothing better than schmearing cream cheese over a fresh-baked bagel.

If you don't know already, New York is known to have the best bagels in the United States. And even though it's been a while since I've been to New York, I can still tell you that their bagels are to die for. And the best part is that almost all, if not most, New York bagels are naturally vegan. See, it goes to show you that you don't need to have animal products to produce good bread.
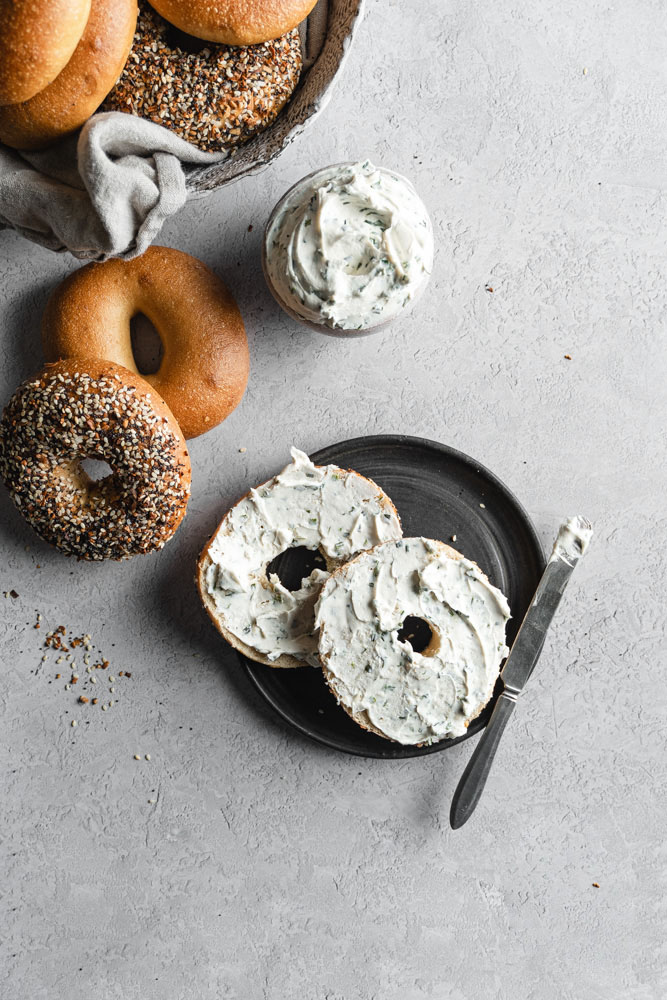
I just love a good bagel, don’t you? It’s just the perfect savory breakfast that’s full of flavor! And since learning how to make these bagels, I’ll never go back to cheap store-bought bagels. Not only do these bagels taste better and have a better texture, but they’re also preservative-free! I mean, any homemade bread will be 100 times better than any store-bought bread. They do take a bit of time to make, but honestly, I think they’re gonna be so worth it in the end.
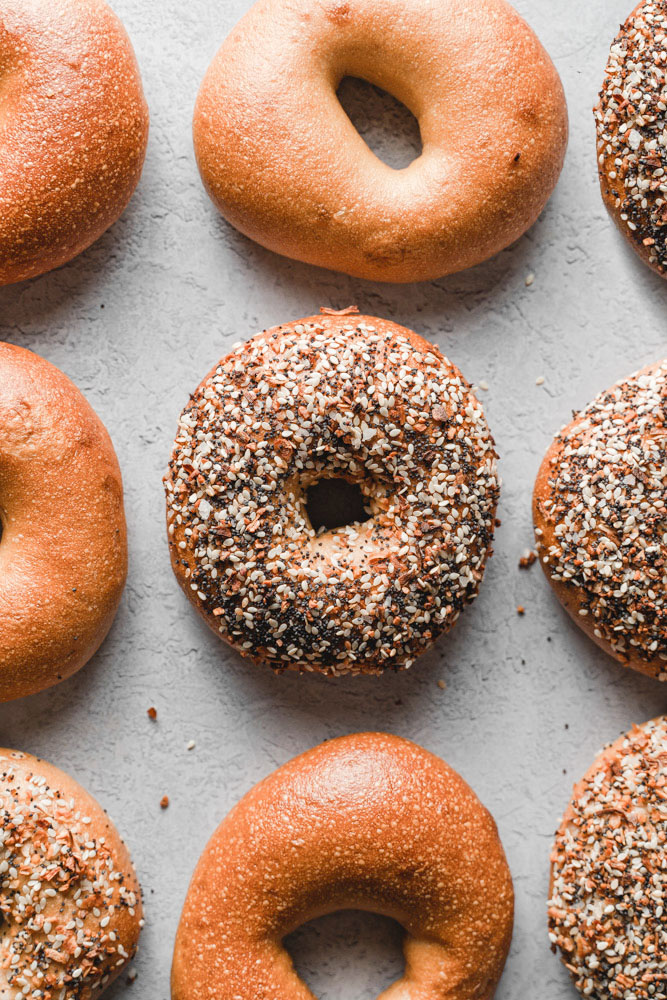
Ingredients for New York-Style Bagels:
- Bread flour
- Active Dry Yeast
- Salt
- Water
- Barley Malt Syrup
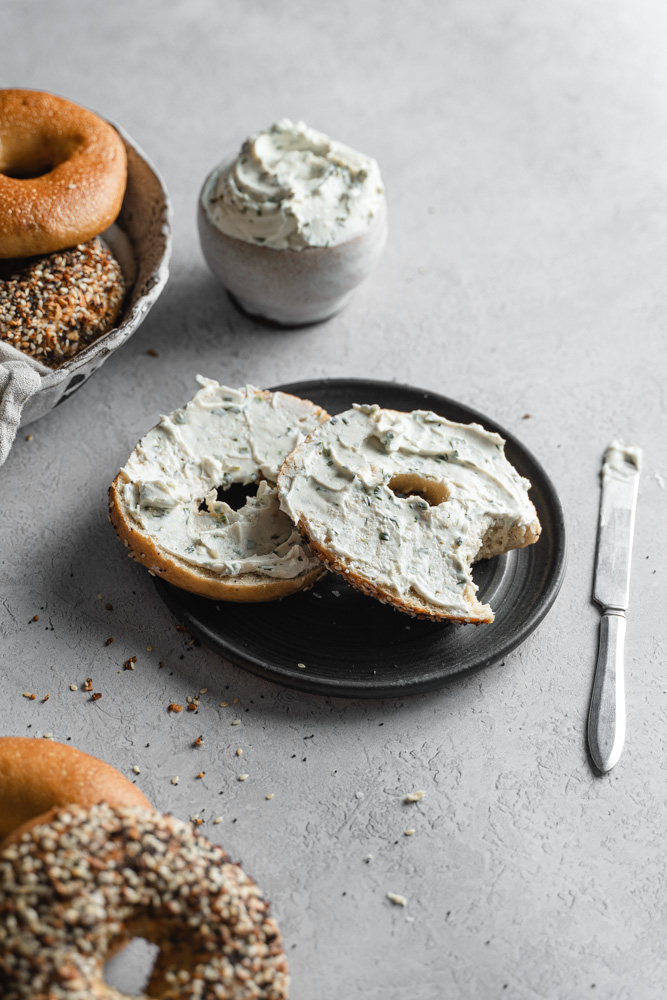
Why bread flour?
So, the reason why it’s called bread flour is that most bread needs higher amounts of protein to produce a lot of gluten. If you don't know, gluten is what gives bread its elasticity and its chew. It is the strongest of all the flours giving it the most structural support. This is best to use for yeasted bread, where strong gluten is needed to contain the CO2 gases that are produced from the yeast as the dough rests from kneading. Compared to all-purpose, bread has a higher protein count.
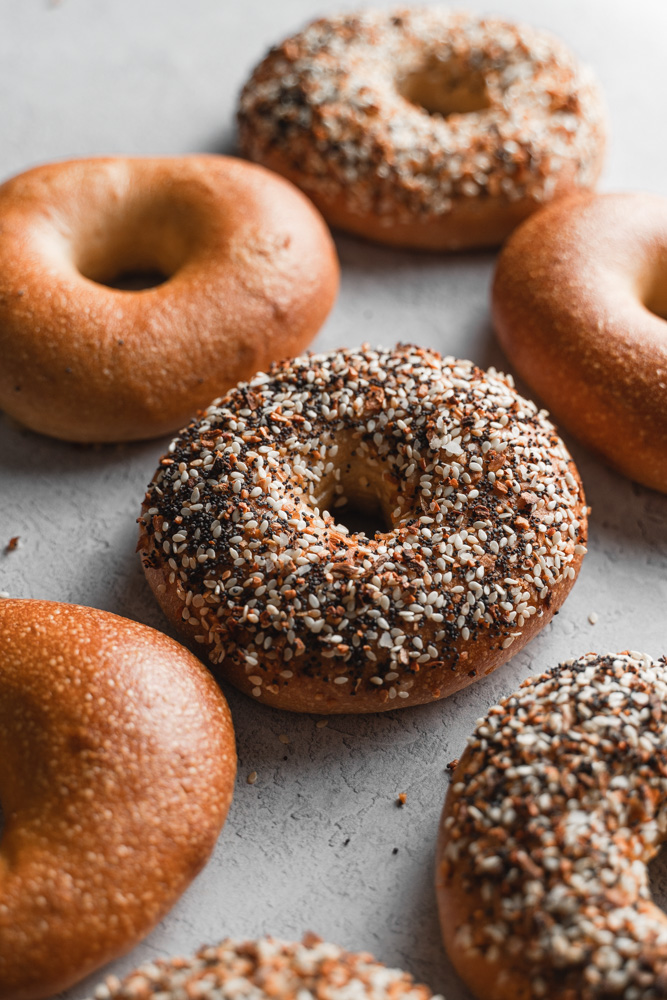
Top tips for making New York-Style Bagels :
- Use a food scale. Having a food scale is important to this recipe. The measurements are exact to the gram. Unfortunately, cup measurements will not give you the same consistent results. A food scale will always give you consistent results every time, you’ll have fewer dishes to clean, and they’re very inexpensive.
- Use a stand-mixer. This dough is low hydration and stiff, so use a quality stand mixer. Lower quality mixers might burn out the motors. You can knead this by hand, but it’ll be a workout, and it’ll take about 30 minutes or more of constant kneading.
- Timing! This recipe will need time to do a 12-hour cold fermentation. Meaning, it’ll do the second rise in the fridge. Doing a long cold fermentation gives the bagels a much better flavor.
- Use barley malt syrup. I know, this is quite a unique ingredient, but it gives the bagels that classic flavor and the beautiful golden brown color. But, as always if you don’t want to go out of your way to buy this, you can sub it in for molasses.
- Toppings! Need I say more? Toppings are always good on bagels, but do whatever you prefer!

If you like this New York-Style Bagels recipe, you might want to check these out:
If you’d tried this recipe out let me know in the comments! Don’t forget to follow me on Instagram @flouredframe and don’t forget to tag me when you create my recipes! Happy cooking!
As an Amazon Associate, I earn from qualifying purchases.
📖 Recipe

Vegan New York-Style Bagels
Equipment
- Food scale highly recommended
- Mixing bowls
- Bowl cover
- Parchment Paper or silicone mat
- 1-2 Rimmed baking sheet
- Baking sheet cover or Turkey-size oven bags, see notes
- Large pot
- Slotted spoon or spider strainer
- Wire cooling rack with an additional baking sheet underneath
Ingredients
Dough
- 30 grams Barley malt syrup (see notes)
- 1 ½ teaspoon Active dry yeast
- 355 grams Warm water
- 625 grams Bread flour
- 15 grams Vital wheat gluten (or add 15 grams more of bread flour)
- 2 teaspoons Salt
- Everything bagel seasoning (optional)
Poaching Solution
- 1 tablespoon Barley malt syrup
- 1 tablespoon Baking soda
- 1 ½ teaspoons Salt
Instructions
The Evening Before, Make The Dough
- In a small bowl, mix the barley malt syrup, and warm water until well combined. Then add in the active dry yeast, stir to dissolve. Allow the yeast to bloom and get frothy for about 10 minutes. See notes.
- Meanwhile, in a bowl of a stand mixer, add in the bread flour, vital wheat gluten, and salt. Mix to combine. When your yeast mixture is ready, add it to the dry ingredients.
- Knead with the dough hook attachment on medium-low speed for 10 minutes until it forms a smooth cohesive dough. You’ll know when your dough is fully kneaded when it springs back when you lightly press down on it. You should get a stiff, satiny dough. It shouldn’t be sticky at all.
- Shape the dough into a ball and transfer it to a lightly oiled bowl, covered with a damp cloth or bowl cover. Allow the dough to rise in a warm spot for 1 hour, or until doubled in size.
- While you wait, prep 1-2 baking sheets with parchment paper or a Silpat mat, and lightly spray it with oil. At this time make some space in your fridge for the baking sheets to fit.
- When your dough is done rising, punch down the dough and measure out 10 equal-sized pieces. You can eyeball this, but for precise accuracy use a food scale. Shape each piece into a round ball.
Shaping
- Working with one dough ball at a time, while covering the rest with a damp kitchen towel, see notes.
- Poke a hole through the center of the dough ball. Use both your index fingers to rotate and gradually stretch to create a hole that will fit 4 fingers or bigger. As it rises and bakes, the hole will get smaller.
- Place each shaped bagel on the prepared baking pan, leaving about an inch of space in between. Brush or spray light coating of oil over the surface of the bagels. Cover the entire pan with a turkey-size oven bag or sheet pan cover and place them in the fridge overnight, 10-12 hours, see notes.
The Next Day, Poaching and Bake
- Preheat the oven to 400°F. Prep 1-2 baking sheets with parchment paper or silicone mat. Then prep your toppings and set it by the stove.
- Fill a large pot with water, at least 4-inches deep. Bring to a boil, then lower the heat to a simmer. Add in the poaching liquid ingredients to the pot, barley malt syrup, baking soda, and salt. Stir until completely the ingredients are completely dissolved.
- Remove the bagels from the fridge, working in batches of 2-3, carefully lower each bagel into the poaching liquid. They should be floating, see notes.
- Boil the bagels for 1 minute on each side.
- With a slotted spoon, remove the bagel from the poaching liquid and drain as much liquid as possible, then place the bagels on the parchment-lined baking sheets. Sprinkle your desired toppings as soon as the bagels come out of the water. Repeat for the rest of the bagels.
- Once the bagels have been boiled, place them in the oven to bake for 18-20 minutes or until golden brown. Remove baking sheets from the oven and carefully transfer them to a wire cooling rack to cool completely. Serve and enjoy! Best served within a couple of days, but you can also place them in the freezer once they are completely cooled.
Notes
- Measure your flour properly. I test my recipes, 100% in grams. A common reason baked goods fail is incorrectly measured flour. I always recommend using a scale for accuracy when baking. This greatly improves your chance for success and lessens room for error.
- If you’re measuring by cups, avoid scooping the measuring cup directly into the flour. This tends to pack the flour into the cup, resulting in too much flour and a very dense or gummy finished product. Instead, aerate your flour (fluff it with a fork or spoon) and then spoon it into your measuring cups, leveling it with your finger or the back of a butter knife. Keep in mind though, that this method is not guaranteed to be accurate.
- Use barley malt syrup. I know, this is quite a unique ingredient, but it gives the bagels that classic flavor and the beautiful golden brown color. But, as always if you don’t want to go out of your way to buy this, you can sub it in for molasses.
- Vital Wheat Gluten? I like to add a touch more protein to my bagels, to make them chewy. You don’t need to add this, you can skip and add in an equal amount of bread flour.
- How can you tell if your yeast is active? If you notice that your yeast isn’t getting frothy or bubbly, then your yeast is most likely dead. You will need to purchase a new one to move forward.
- Why cover the dough with a damp towel while I shape? Covering the dough balls with a damp towel while you shape them, helps keep the surface of the dough drying out.
- This recipe will need time to do a 10-12-hour cold fermentation. Meaning, it’ll do the second rise in the fridge. Doing a long cold fermentation enhances the texture and flavor of the bagels.
- If you’re worried about your bagels not floating, you can test it out. Prep a medium-sized bowl and fill it up with cold water. Take one bagel and gently place it in the water, if it’s floating then you are ready to boil them. If they are not, place them back in the fridge for another 2-3 hours and test again.



Leave a Reply