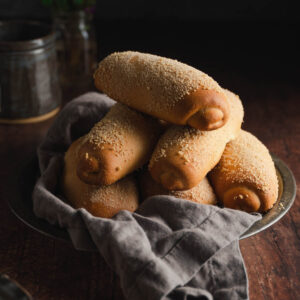
Vegan Spanish bread, or as my best friend likes to call it, "sandy baby legs", is a very common pastry in the Philippines. This veganized version stays true to the classic. Fluffy, filled with sweet buttery goodness, baked to golden perfection. The perfect dish to pair with a cup of coffee or tea! Eat it for breakfast, snacks, or even dessert! You won't want to miss out on this deliciousness.
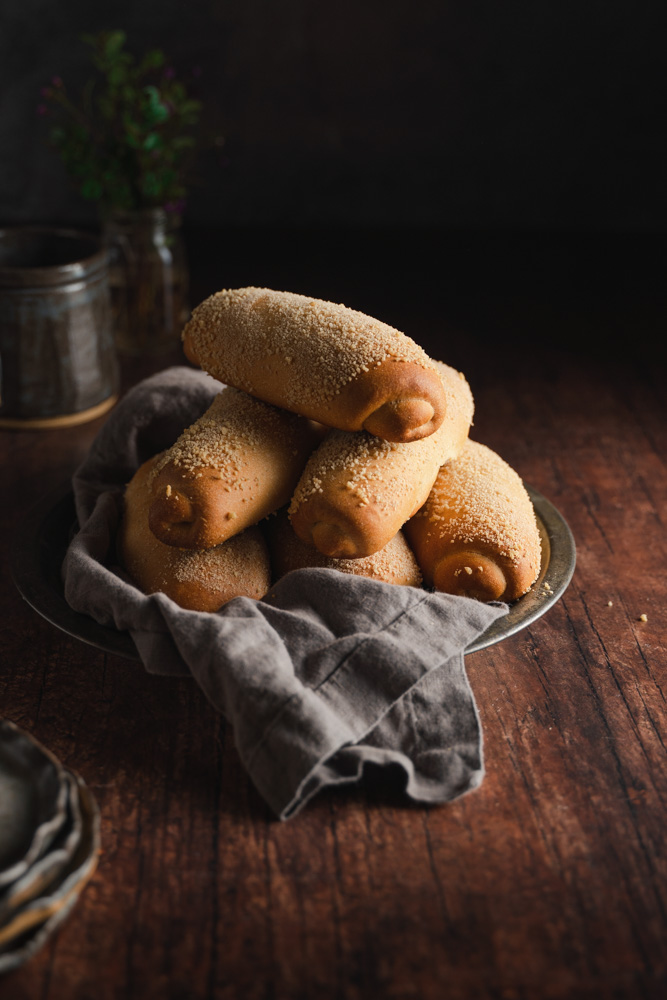
Creating this vegan Spanish bread brings back so many childhood memories. Both my mom and grandma would always go out early to the Filipino bakery just to buy us freshly baked Spanish bread for us to eat for breakfast! It was so nice to eat it for breakfast and dipping it in my dad's coffee. I'm telling you, nothing beats freshly baked bread! Even if you’re not Filipino, this is a recipe that you need to try. It's just so good, and it'll make your house smell like a bakery!
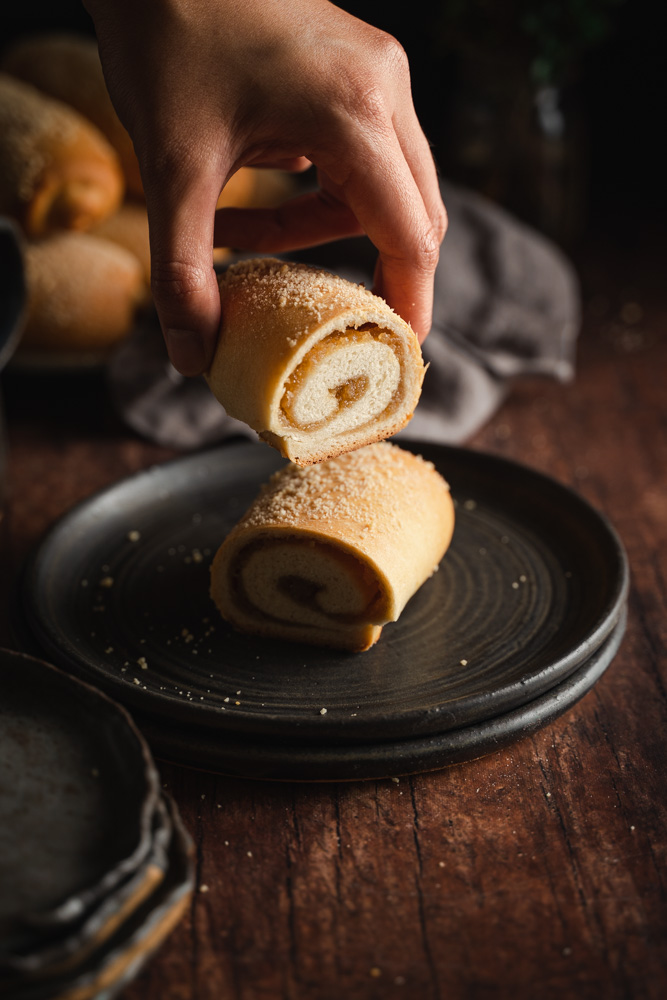
What is Spanish bread?
Yes, the Philippines was colonized by Spain in the 1800s, however, the Spanish bread actually has nothing to do with Spain! Spanish bread is a very common pastry in the Philippines. It’s a yeasted bread that is rolled in a sugary buttery filling. Then topped with bread crumbs before baking. Now, there isn’t a real reason why it’s called “Spanish” bread, but one thing is for sure - it’s delicious.
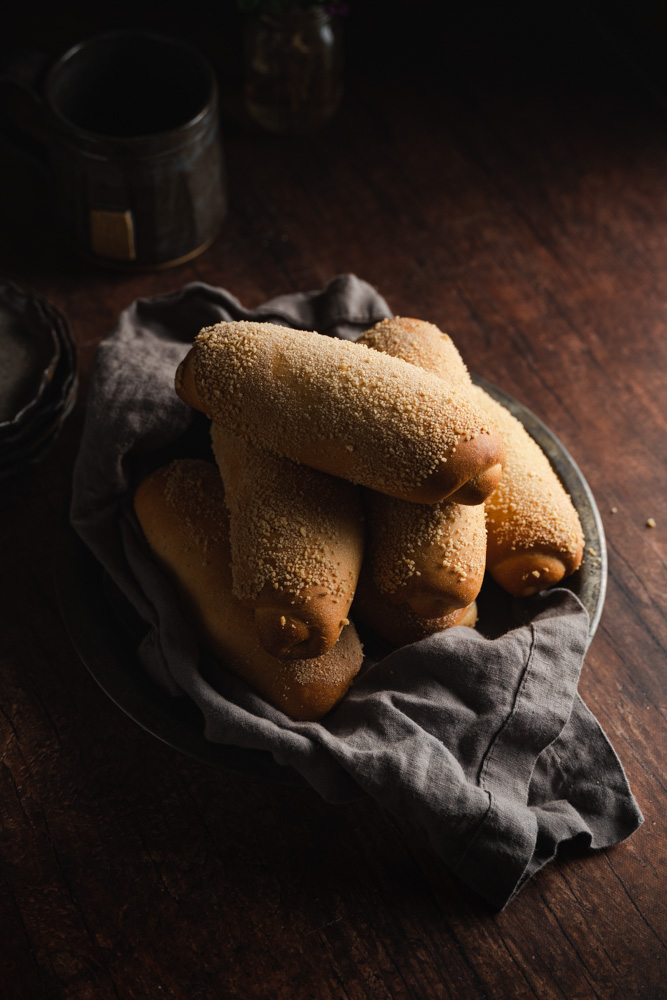
Top tips for making vegan Spanish bread:
- Use a food scale. It’s way more accurate than using cups, and you get the same consistent results. Also, fewer dishes to clean up!
- While the dough rises, make the sweet buttery filling, as it will also need time to cool.
- Grind the breadcrumbs that you are going to use to top the bread with. Sometimes breadcrumbs are chunky, the ones that are usually on top of the bread is like a sand-like consistency. Use a blender or food processor.
- When the dough springs back or resists you when you roll it out, that means the gluten hasn’t had enough time to relax. Allow the dough to rest again for another 10-15 minutes and try again.
- Store in an air-tight container in the fridge. Spanish bread is best eaten within 2 to 3 days. Re-heat in a microwave 20-30 seconds or toaster oven for 1 to 2 minutes over low heat.
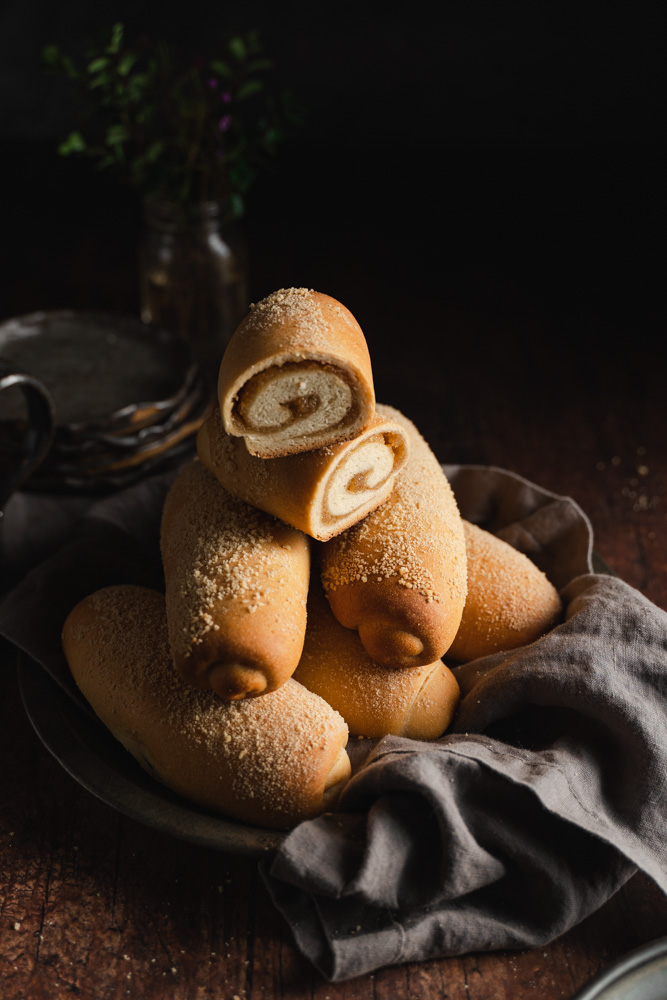
How to assembly Vegan Spanish Bread:
- On a lightly floured work surface, roll out a piece of dough into a 4-in x 9-in oval. If the dough is resisting and springing back as you roll, allow it to rest for another 10-15 minutes.
- Add about a heaping tablespoon of the filling, and spread it, leaving about a half-inch border all around.
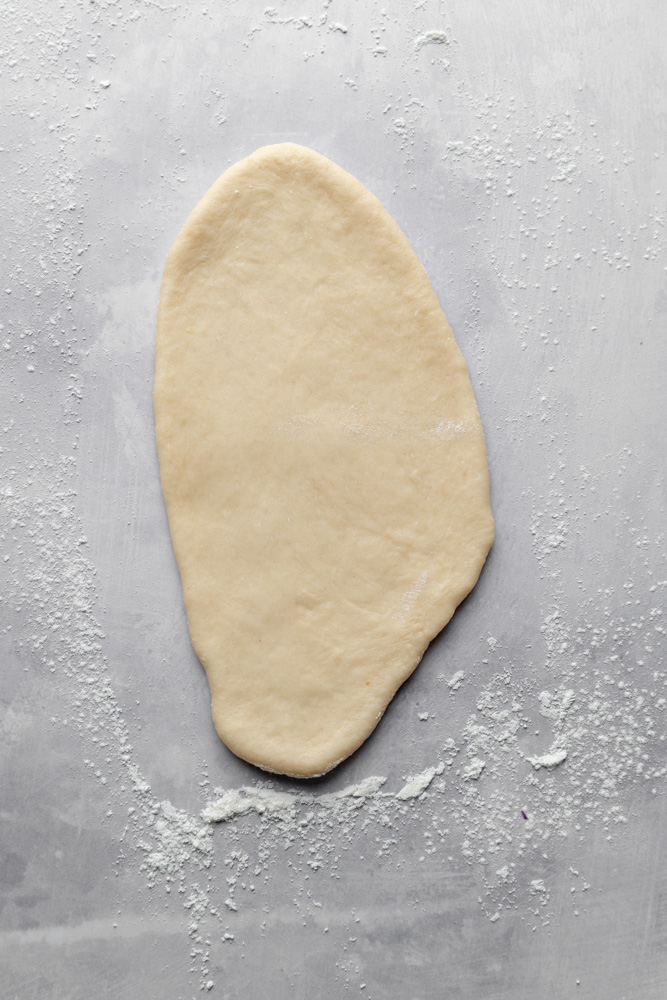
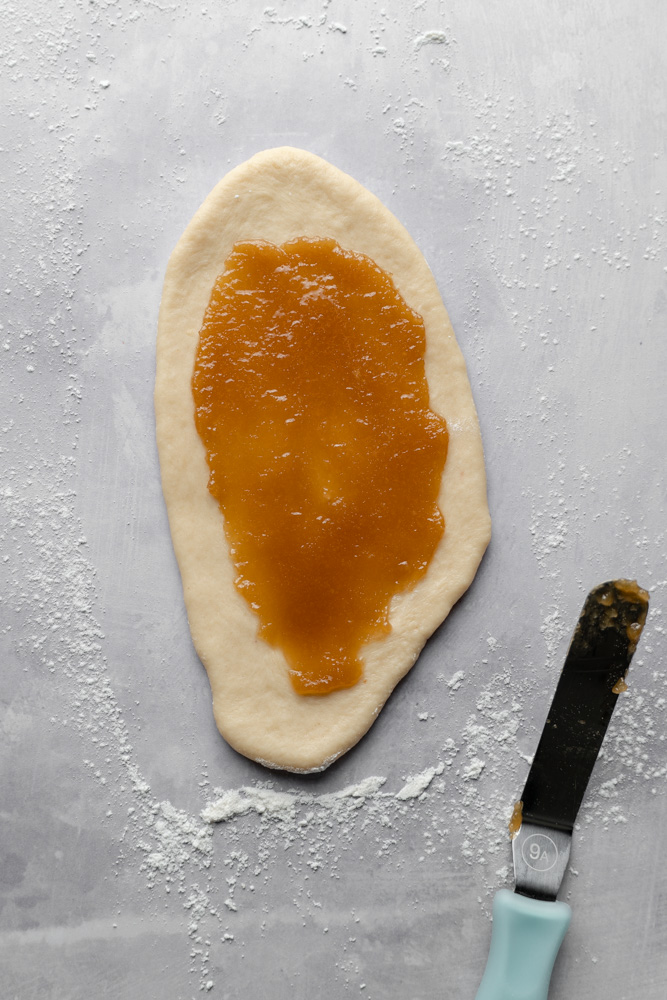
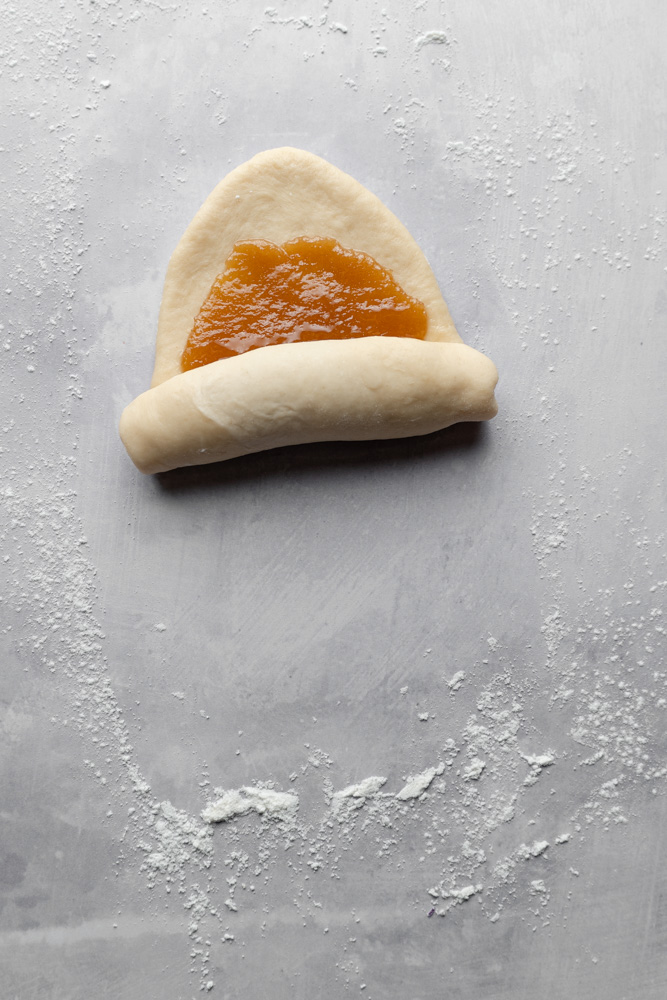
- Starting from the bottom, roll it up, while making sure that all ends are sealed.
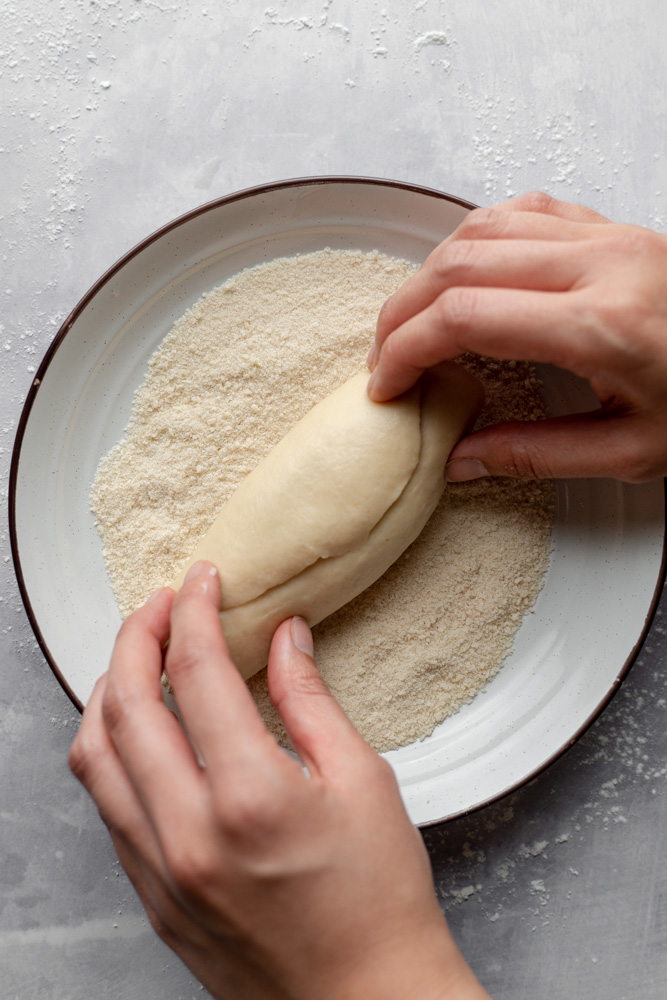
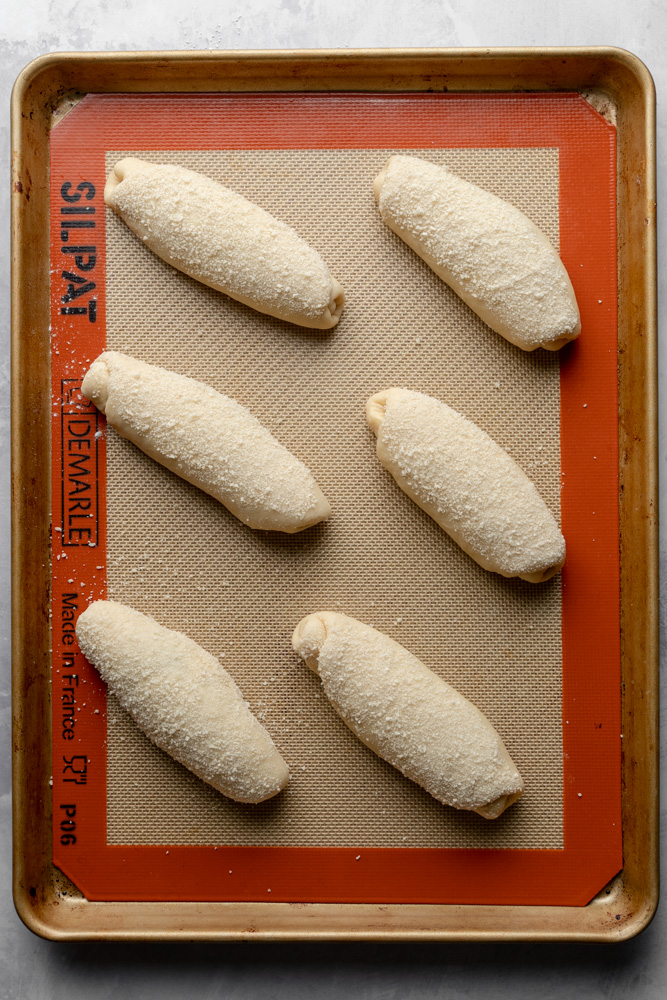
- Roll the tops of the dough in the breadcrumbs, and set it aside on a parchment-lined baking sheet, seam side down. Repeat for the rest of the dough and filling.
If you like this recipe, you might want to check these out:
If you tried this recipe, let me know what you think in the comments below. You can also share it with me on Instagram, just tag @flouredframe. I would love to see your recreations! Happy baking!
📖 Recipe
Vegan Spanish Bread (Filipino Senorita Bread)
Equipment
- Food scale highly suggested
- Stand mixer optional
- Large mixing bowl
- Small saucepan
- Heatproof silicone spatula
- Bench scraper or knife
- Butter knife or offset spatula
- Food processor or high speed blender
- Tea towel
- Rolling Pin
- Parchment Paper
- Rimmed baking sheet
- Wire cooling rack
Ingredients
Dough
- 192 grams Non-dairy milk (I used soy)
- 2 teaspoons Instant yeast
- 100 grams Granulated sugar
- 350 grams Bread flour (spooned, leveled and sifted)
- 1 teaspoon salt
- 42 grams Vegan butter (softened)
- 30 grams Unflavored panko breadcrumbs (make sure it's vegan!)
Sweet Buttery Filling
- 56 grams Vegan butter
- 100 grams Brown sugar
- 60 grams Non-dairy milk (luke warm and I used soy)
- 2 teaspoons Bread flour
- 30 grams Unflavored panko breadcrumbs
- ¼ teaspoons salt
- 1 teaspoon vanilla extract
Instructions
Dough
- Combine all of the dough ingredients into a bowl of a stand mixer, including the yeast and softened vegan butter. Knead with the dough hook attachment on medium-low speed for 10 minutes until it forms one cohesive dough. You’ll know when your dough is fully kneaded when it springs back when you lightly press down on it.
- Shape the dough into a ball and transfer to a lightly oiled bowl and cover. Let the dough rise in a warm spot for 1 hour, or until doubled in size.
Filling
- In a small saucepan, melt the butter until bubbly. Then whisk in the brown sugar until it has slightly dissolved in the butter. Next, add in the non-dairy milk and whisk to combine.
- Add in the bread flour, bread crumbs, salt, and vanilla extract. Whisk until fully combined. Cook for another 1 minute until it starts to bubble. Remove from heat and allow to cool.
Assembly
- Before you start, if your bread crumbs are chunky, blitz them in the blender or in a food processor until you get a sand-like texture. Then prep it by pouring it on a plate, and set it aside. Next, prep a large baking sheet with parchment paper, and set it aside until ready to use.
- When your dough has doubled in size, punch down it down and divide it into 6 pieces. Use a food scale for more accuracy. Shape each piece into a ball, cover with a damp tea towel, and allow it to rest for 15 minutes.
- After 15 minutes, on a lightly floured work surface, roll out a piece of dough into a rough 4-inch x 9-inch oval. If the dough is resisting and springing back as you roll, allow it to rest for another 10-15 minutes. See notes.
- Add about a heaping tablespoon of the filling, and evenly spread it across the surface, leaving about a half-inch border all around.
- Starting from the bottom, roll it up while making sure that all ends are sealed. Roll the tops of the dough in the breadcrumbs, and set it aside on a parchment-lined baking sheet, seam side down. Repeat for the rest of the dough and filling.
- Cover with a damp cloth and let it rise again for 30 minutes and preheat the oven to 350° Fahrenheit. Then bake for 20-25 minutes, or until golden brown. Allow the bread rolls to cool over a wire cooling rack. Best served the same day!
Notes
- Measure your flour properly. I test my recipes, 100% in grams. A common reason baked goods fail is incorrectly measured flour. I always recommend using a scale for accuracy when baking. This greatly improves your chance for success and lessens room for error.
- If you’re measuring by cups, avoid scooping the measuring cup directly into the flour. This tends to pack the flour into the cup, resulting in too much flour and a very dense or gummy finished product. Instead, aerate your flour (fluff it with a fork or spoon) and then spoon it into your measuring cups, leveling it with your finger or the back of a butter knife. Keep in mind though, that this method is not guaranteed to be accurate.
- These rolls will last for a week, keep leftovers in an airtight container. Reheat in the microwave, oven, or toaster oven.

Leave a Reply